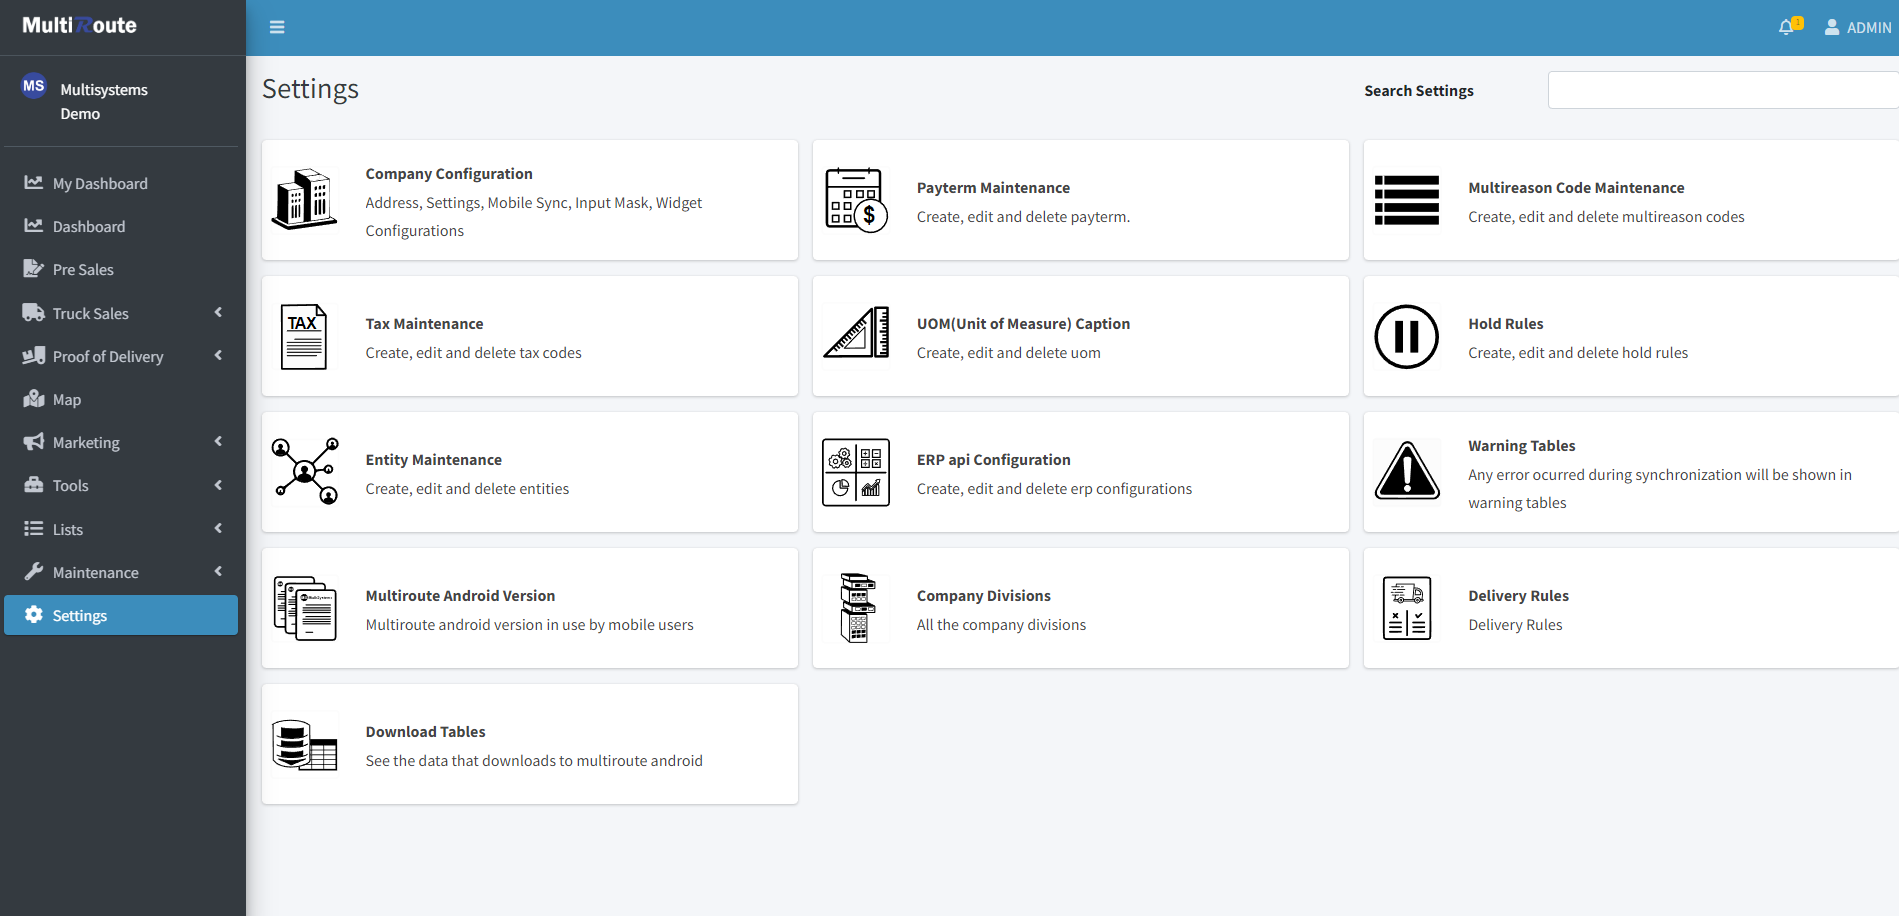
Settings
In the Settings page, the user will find the following settings:
Company Configuration
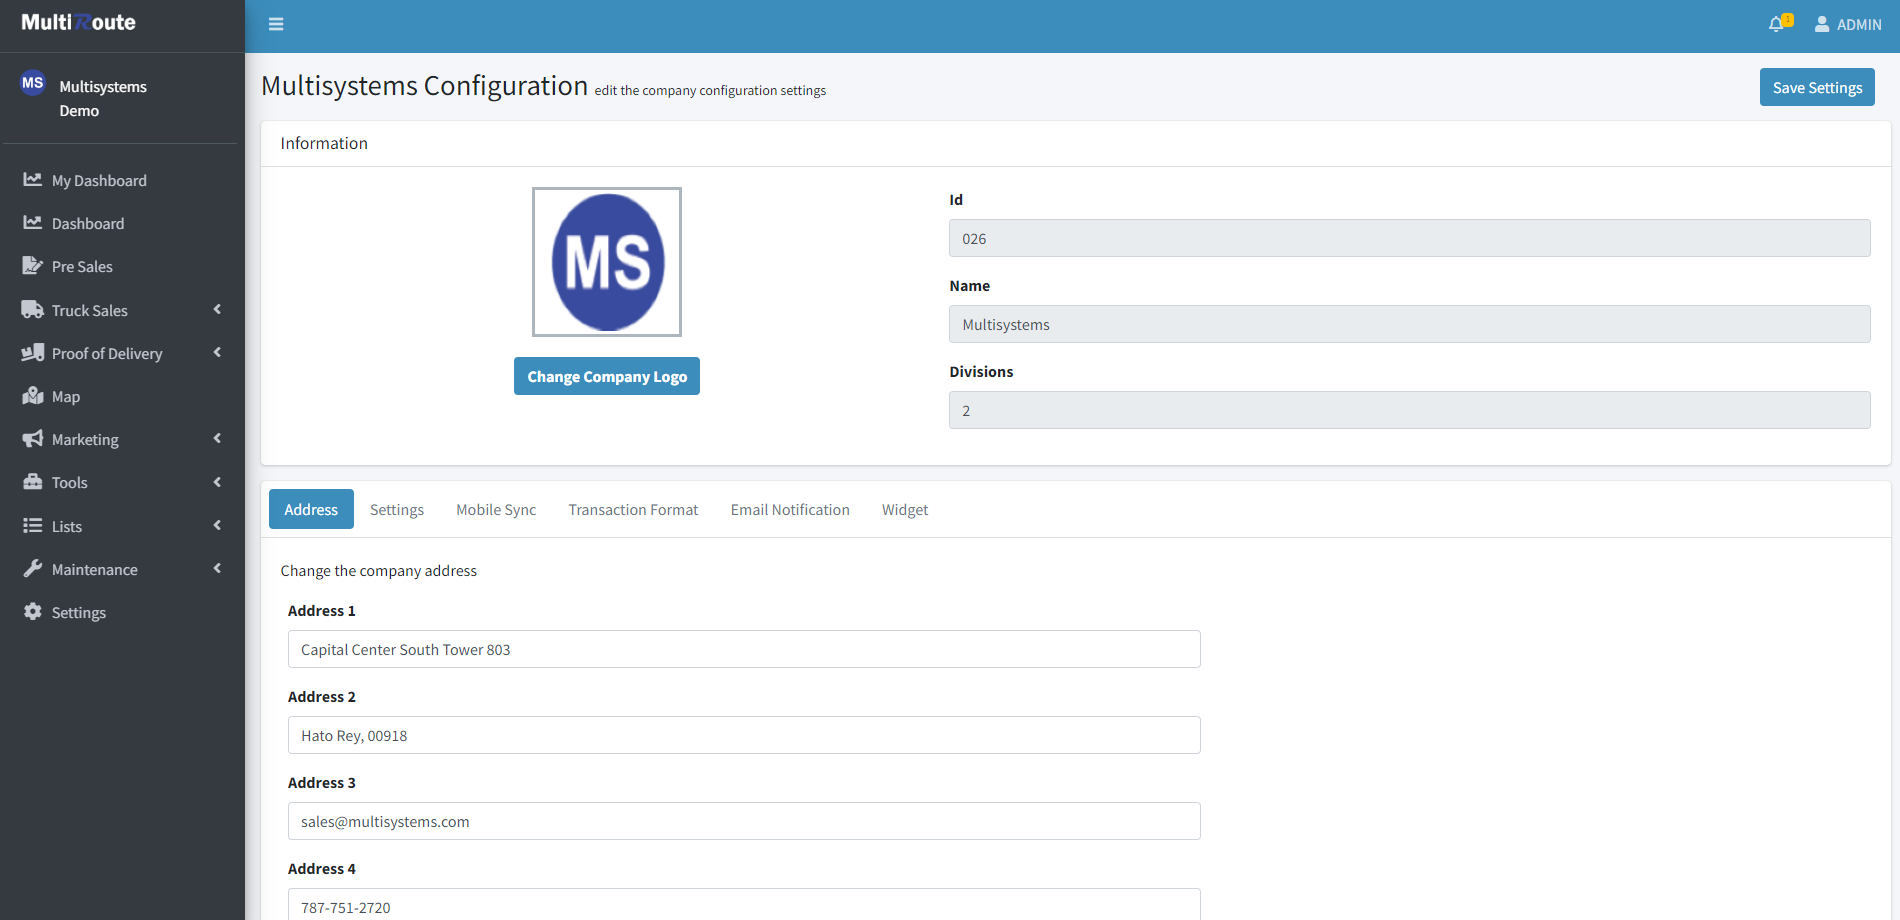
Through the Company Configuration page, the user can configure the company's Address, Settings, Mobile Sync, Transaction Format, Email Notification and Widgets. Additionally, they can change their Company Logo, and view their MultiRoute ID, Name, and their Divisions.
On the following, the user can:
Address
Change the company's address.
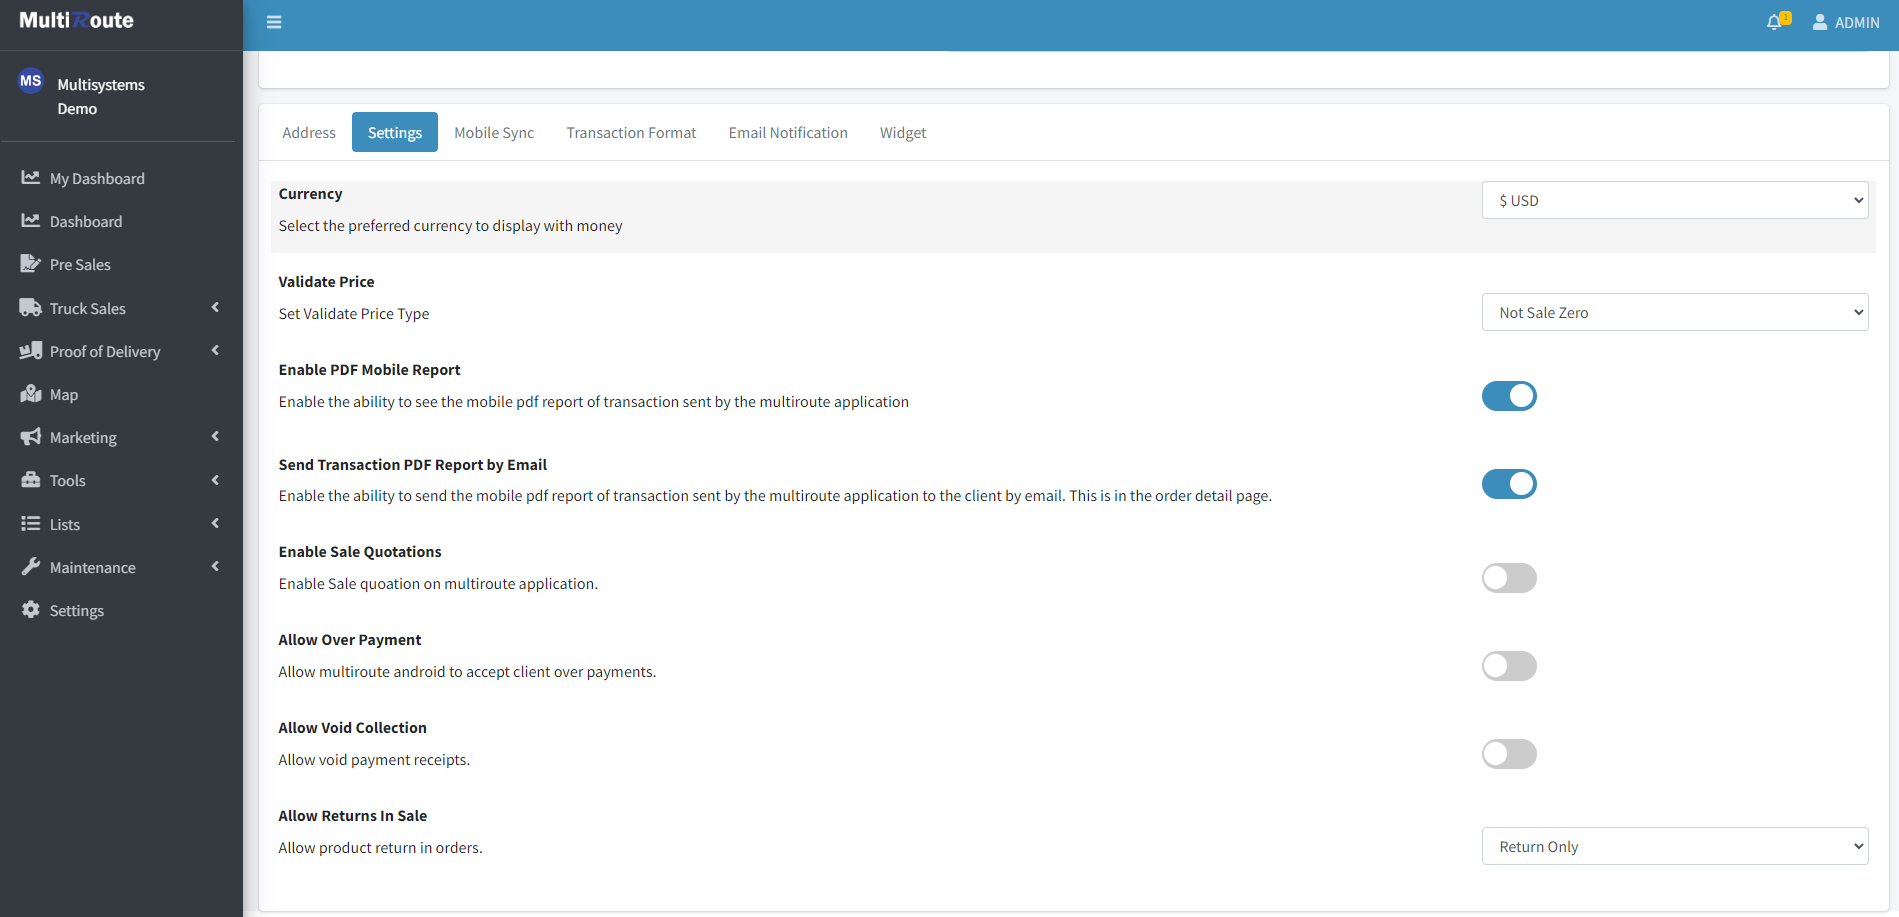
Settings
Edit or view the company configuration settings.
Mobile Sync
Configuration parameters for multiroute application synchronization. This be will be used in the QR Code.

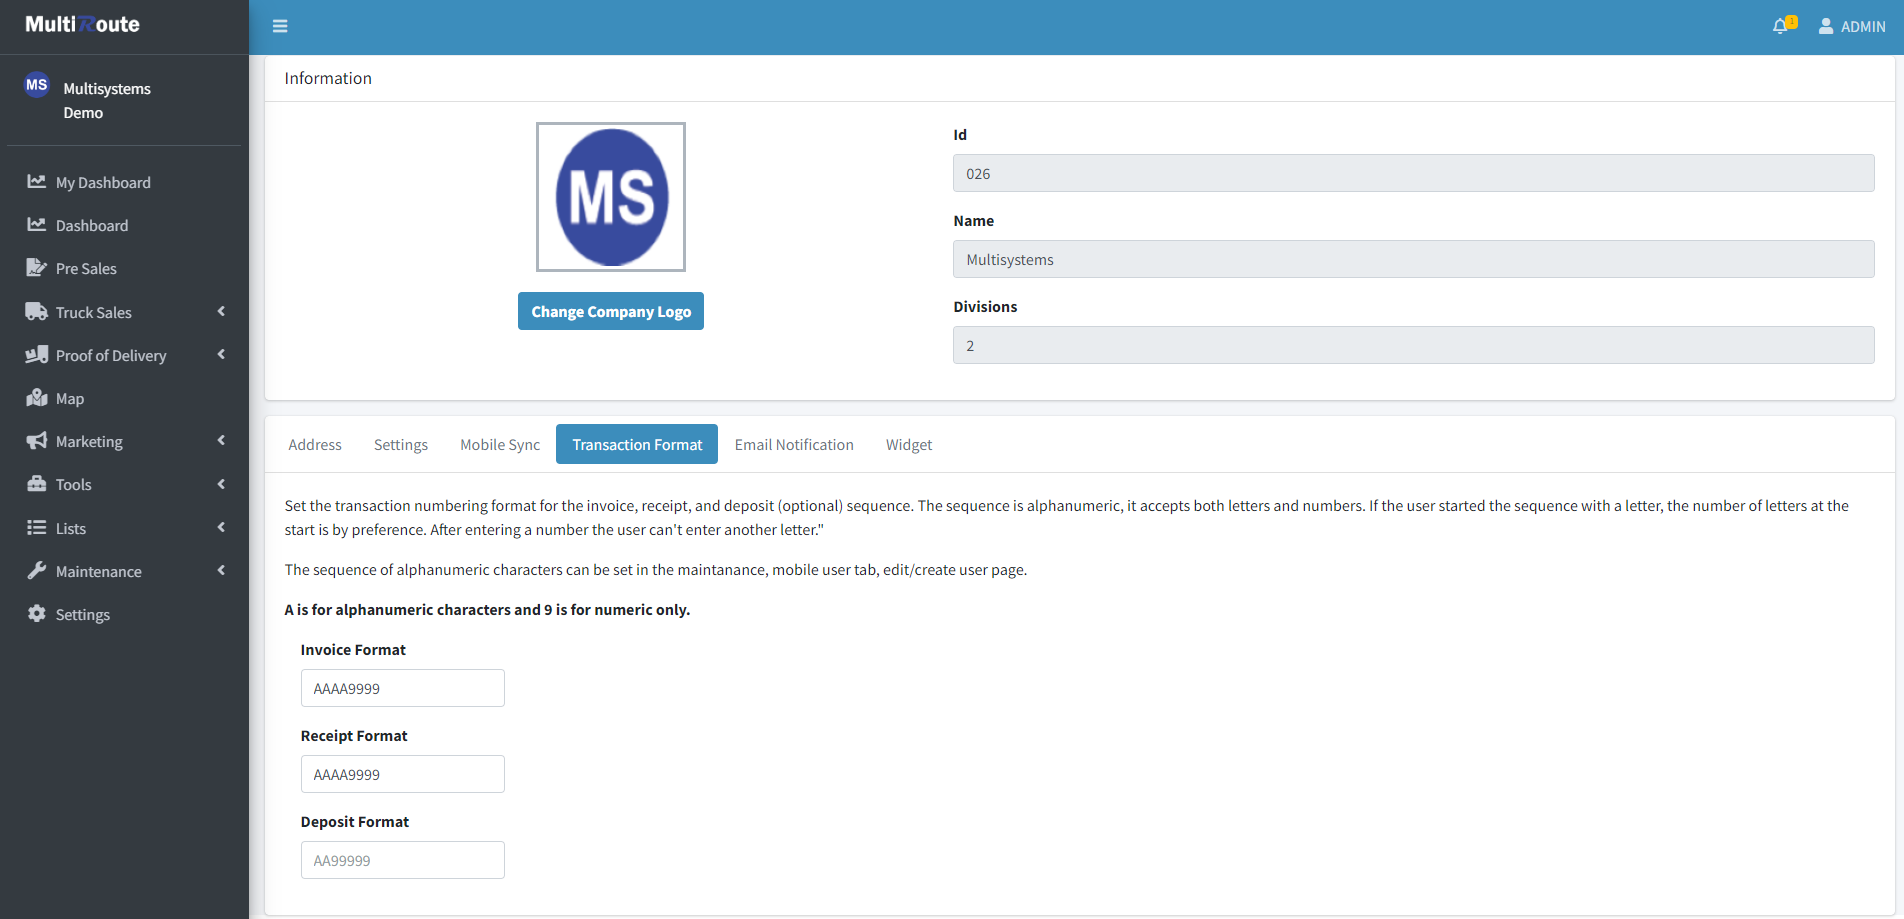
Transaction Format
Set the transaction numerical formats for the invoice, receipt and deposit sequences.
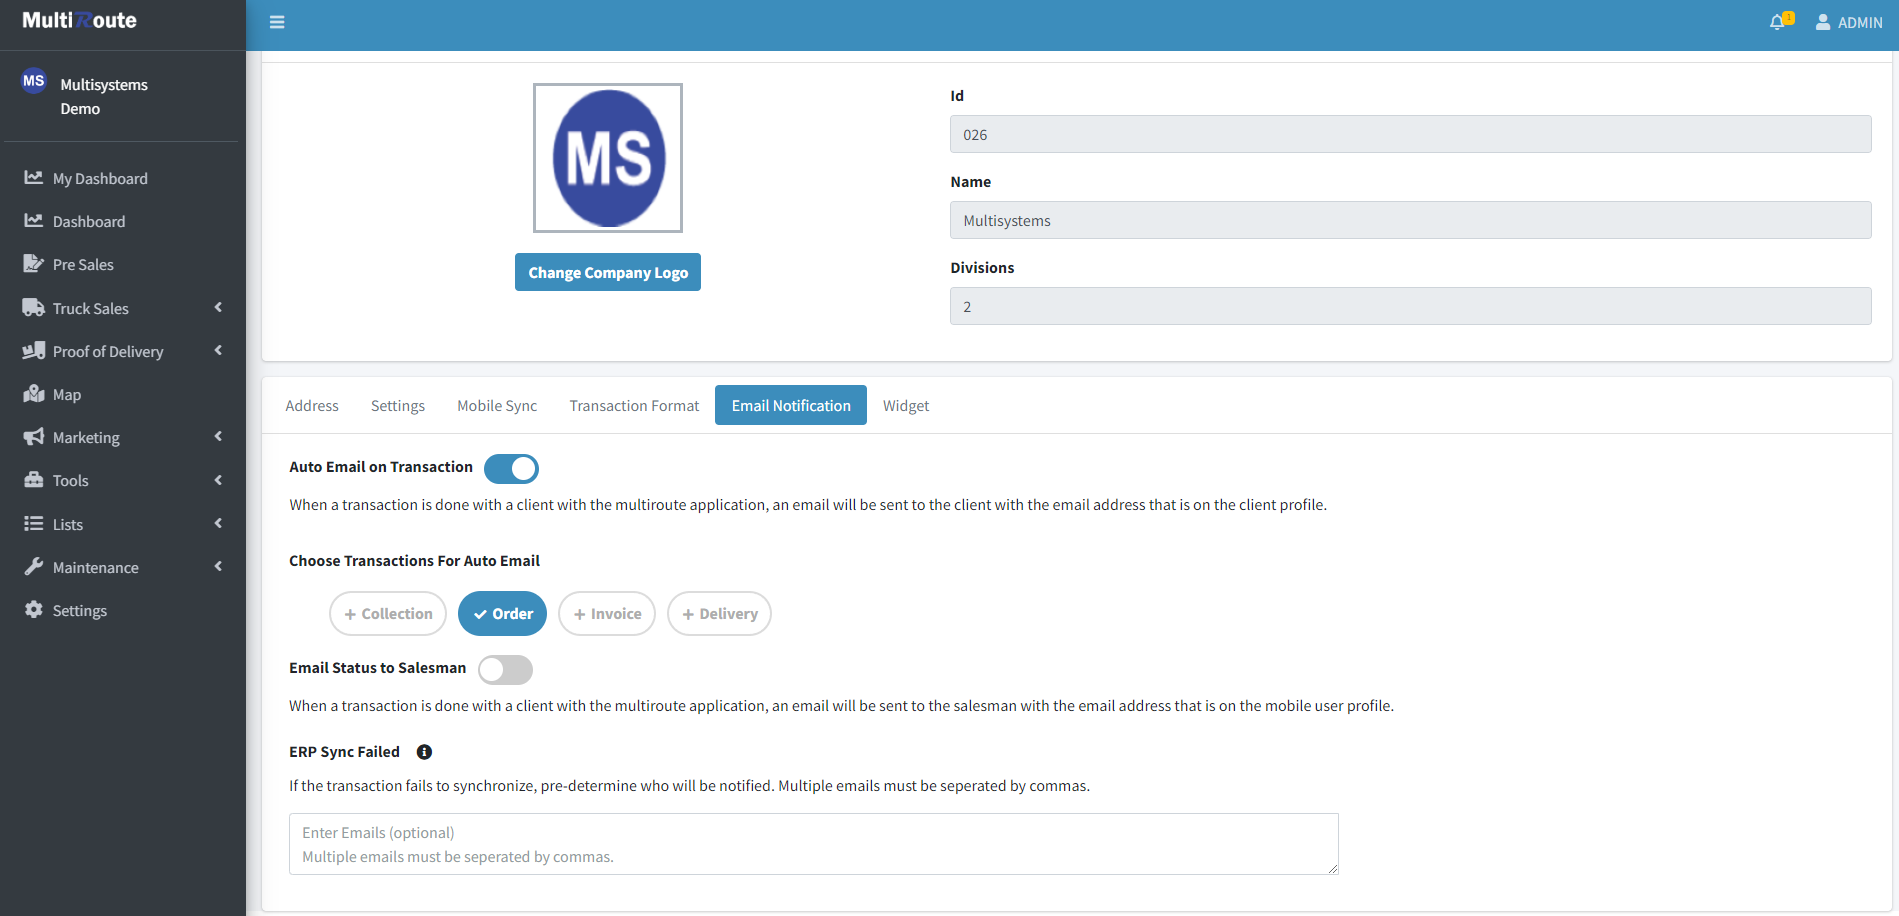
Email Notification
Email notification settings can be viewed or adjusted here.
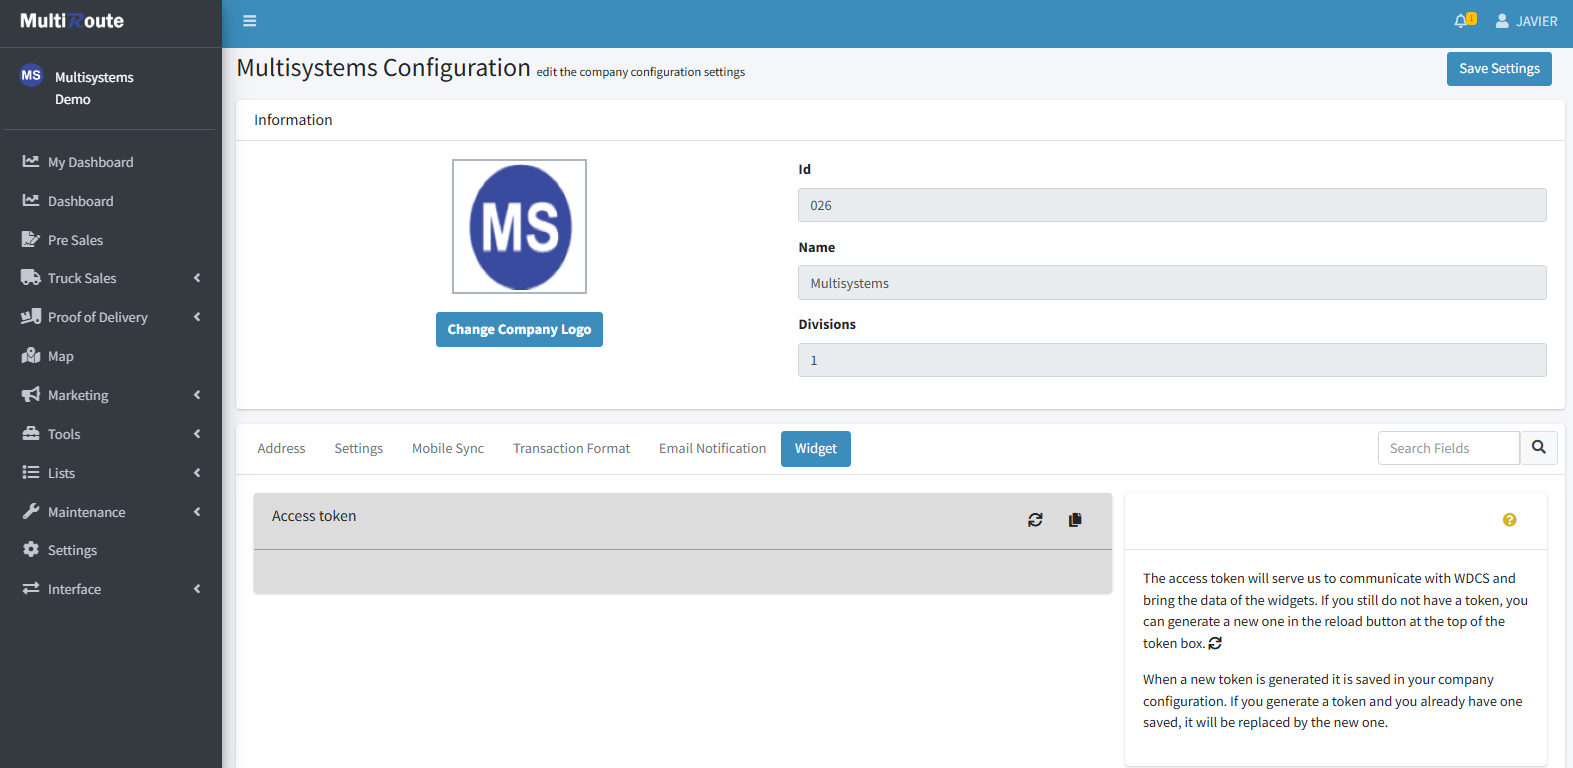
Widget
Used to generate an access token to communicate with WDCS and bring the data of the widgets.
Payterm Maintenance
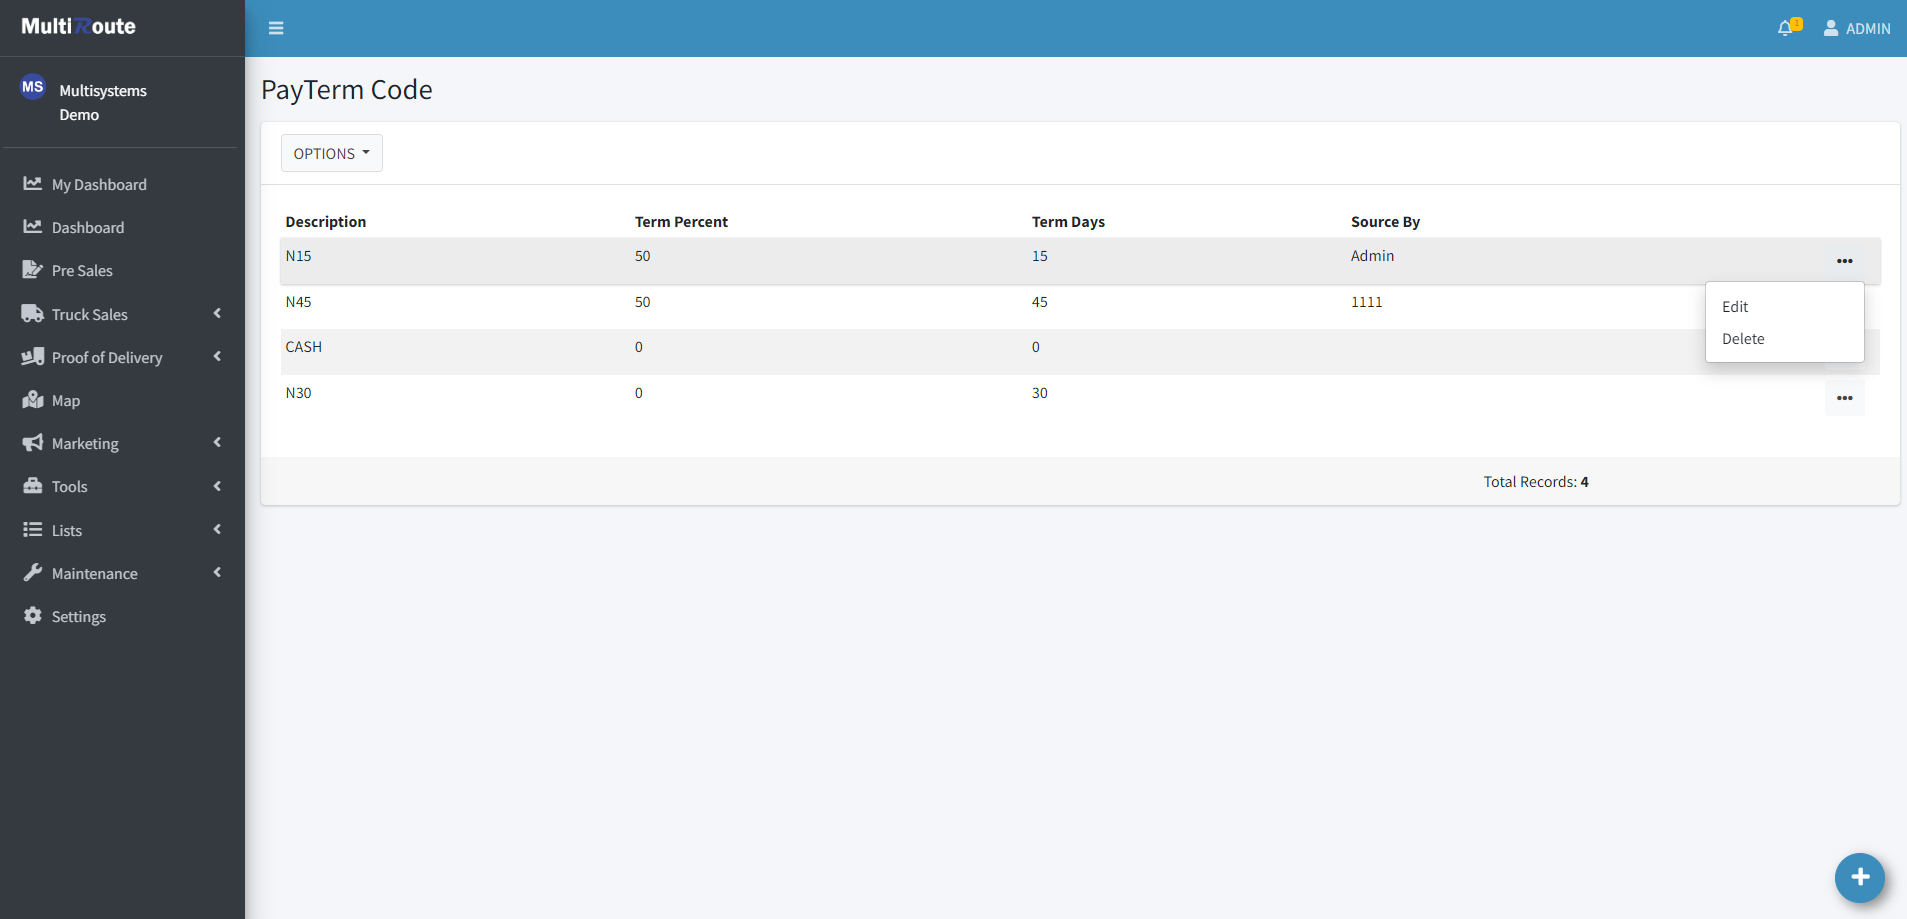
On the Payterm Maintenance page, the user can create, edit and delete the payterms.
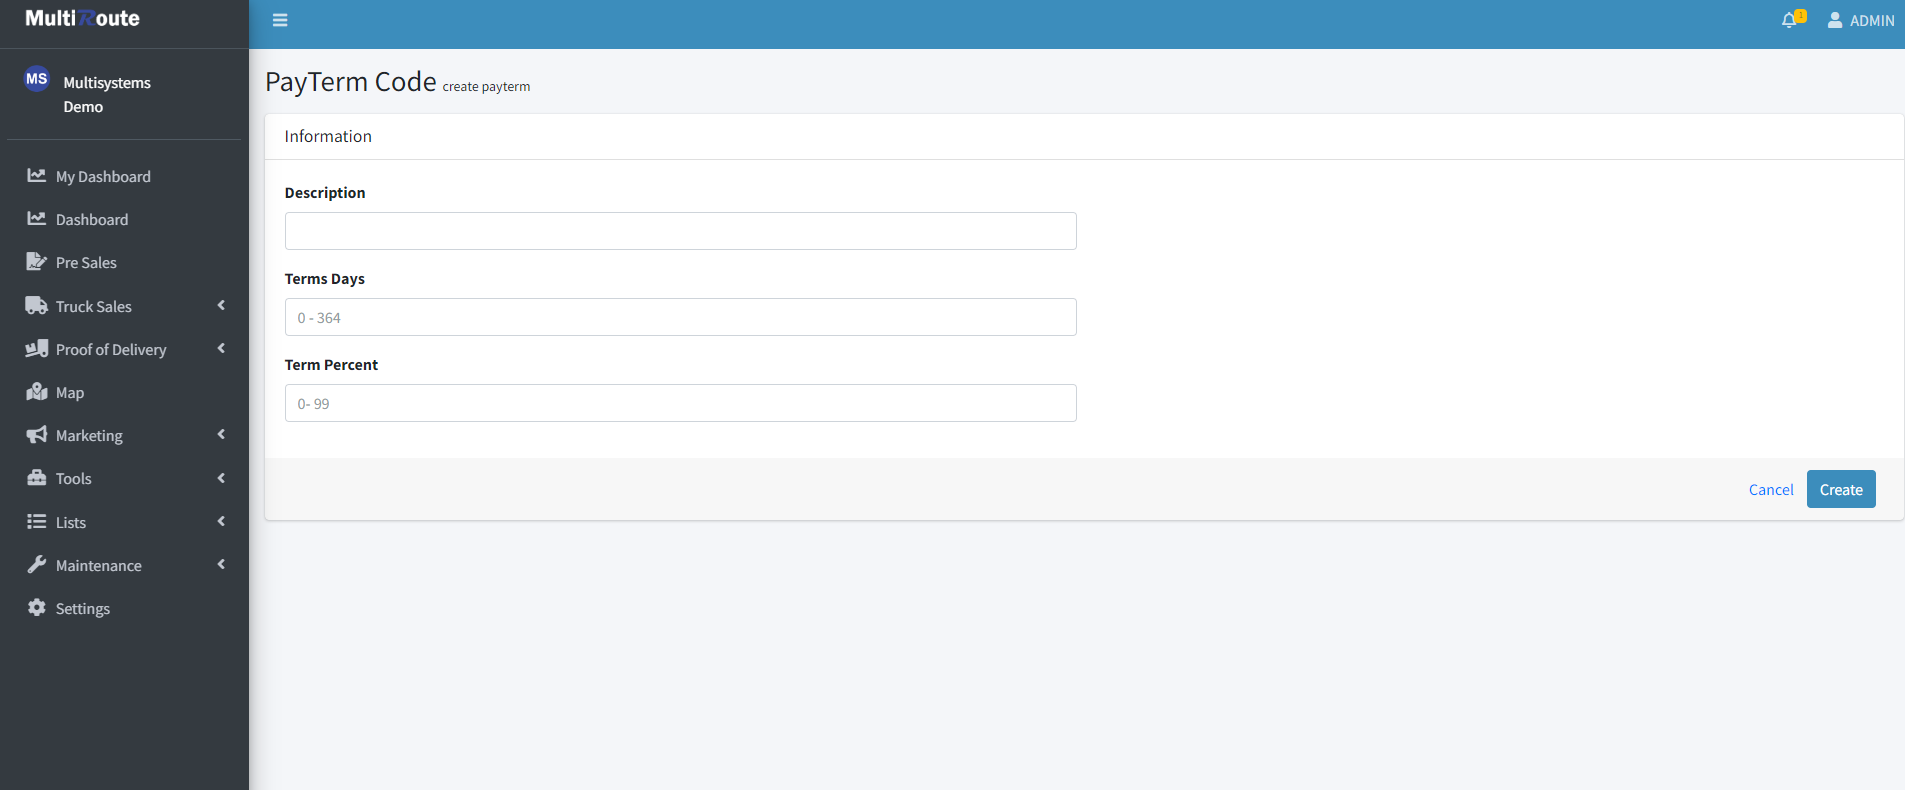
Create New Payterm Code
To create a new Payterm Code, press the blue button at the bottom right corner of the page. This will allow the user to add the Description, Term Days, and Term Percent of the payterm code.
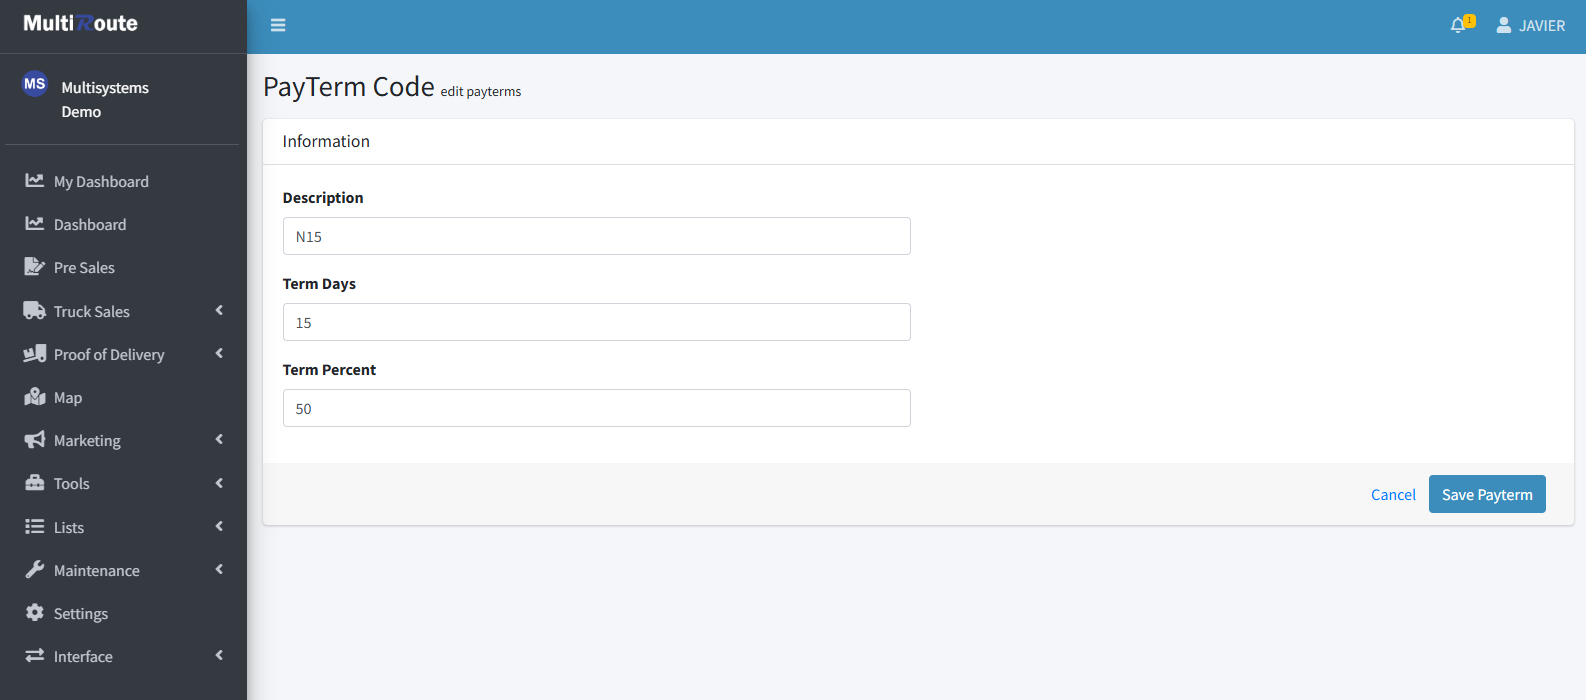
Edit Existing Payterm Code
After pressing the triple dot icon ••• to the right of a payterm code, the options to Edit or Delete, to delete the selected payterm, will appear. If the user selects Edit, they'll be able to modify the Description, Term Days, and Term Percent of the selected payterm code.
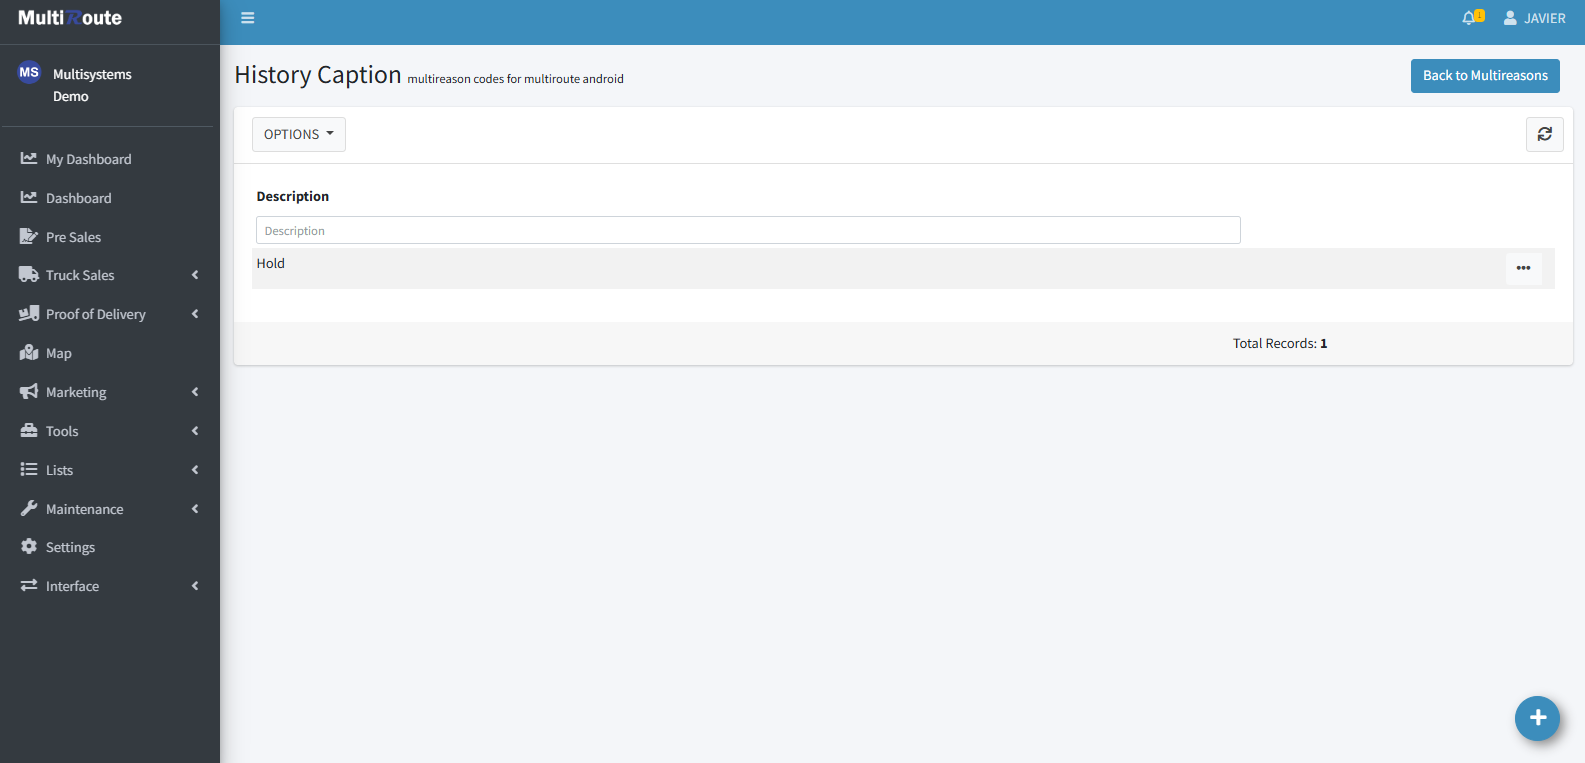
Multireason Code Maintenance
In here, the user can create, edit and delete multireason codes for MultiRoute Android. Through here, all of the captions, promos, requests, and reasons for doing something will appear in a table, each containing a Description and Extended Code ID.

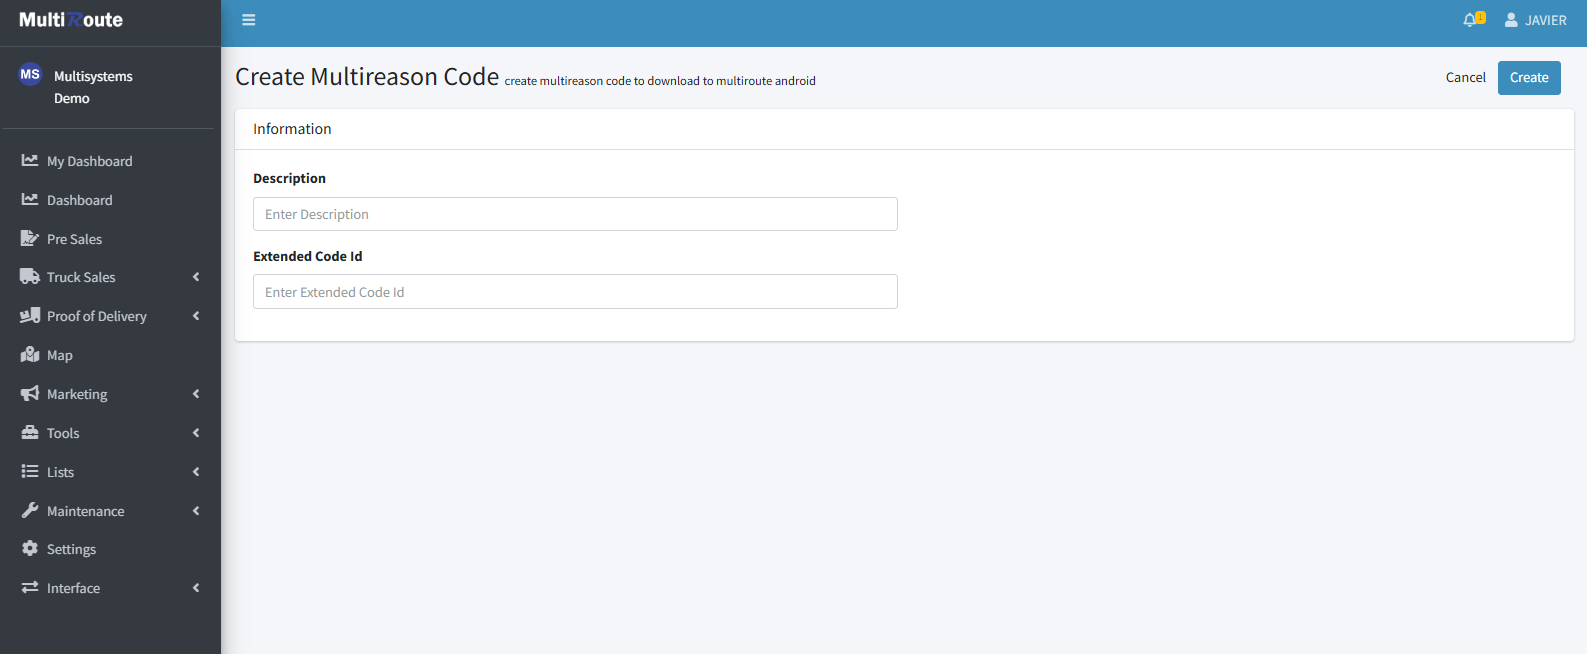
Create New Multireason Code
To create a new Multireason Code, press the blue button at the bottom right corner of any of the multireason table pages. This will allow the user to add the Description and Extended Code ID of the new multireason code.
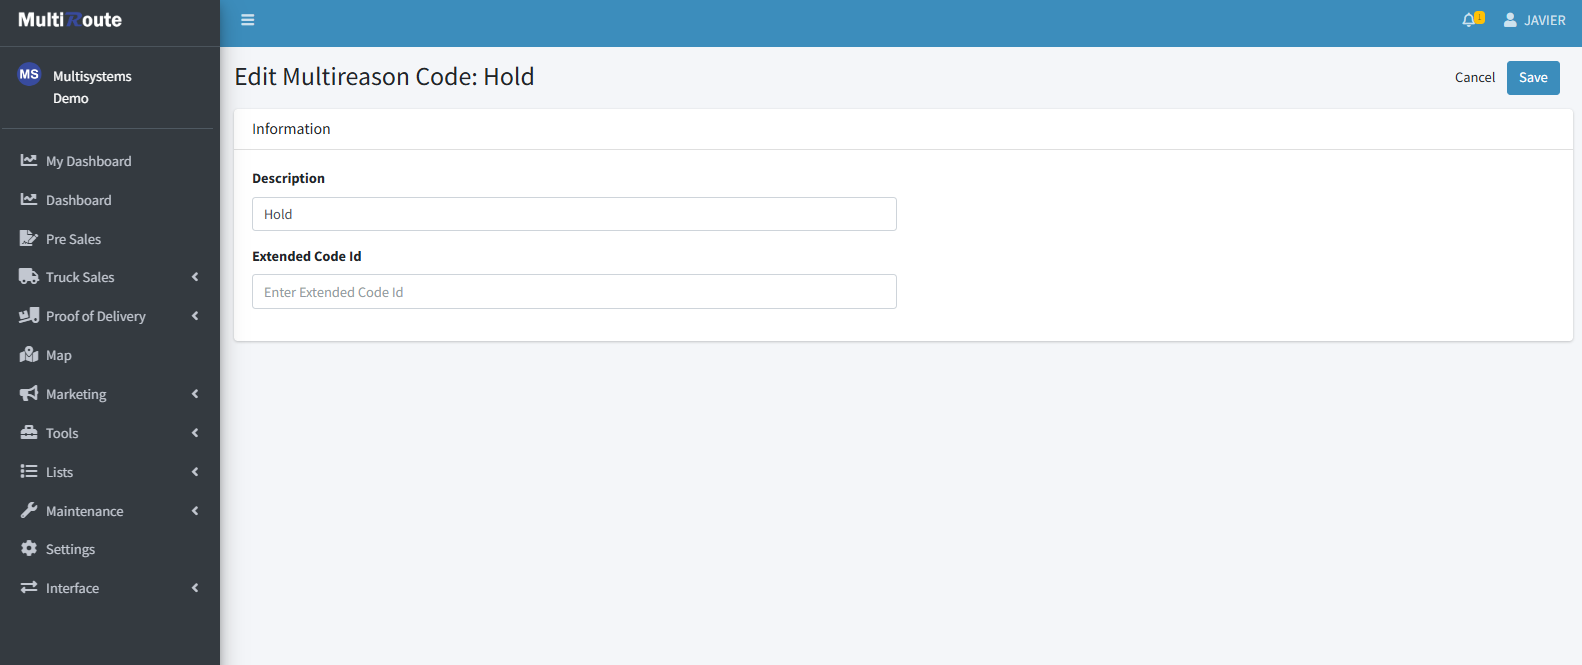
Edit Multireason Code
After pressing the triple dot icon ••• to the right of a multireason code, the options to Edit or Delete, to delete the selected multiroute code, will appear. If the user selects Edit, they'll be able to modify the Description and Extended Code ID of the selected multireason code.
Tax Maintenance
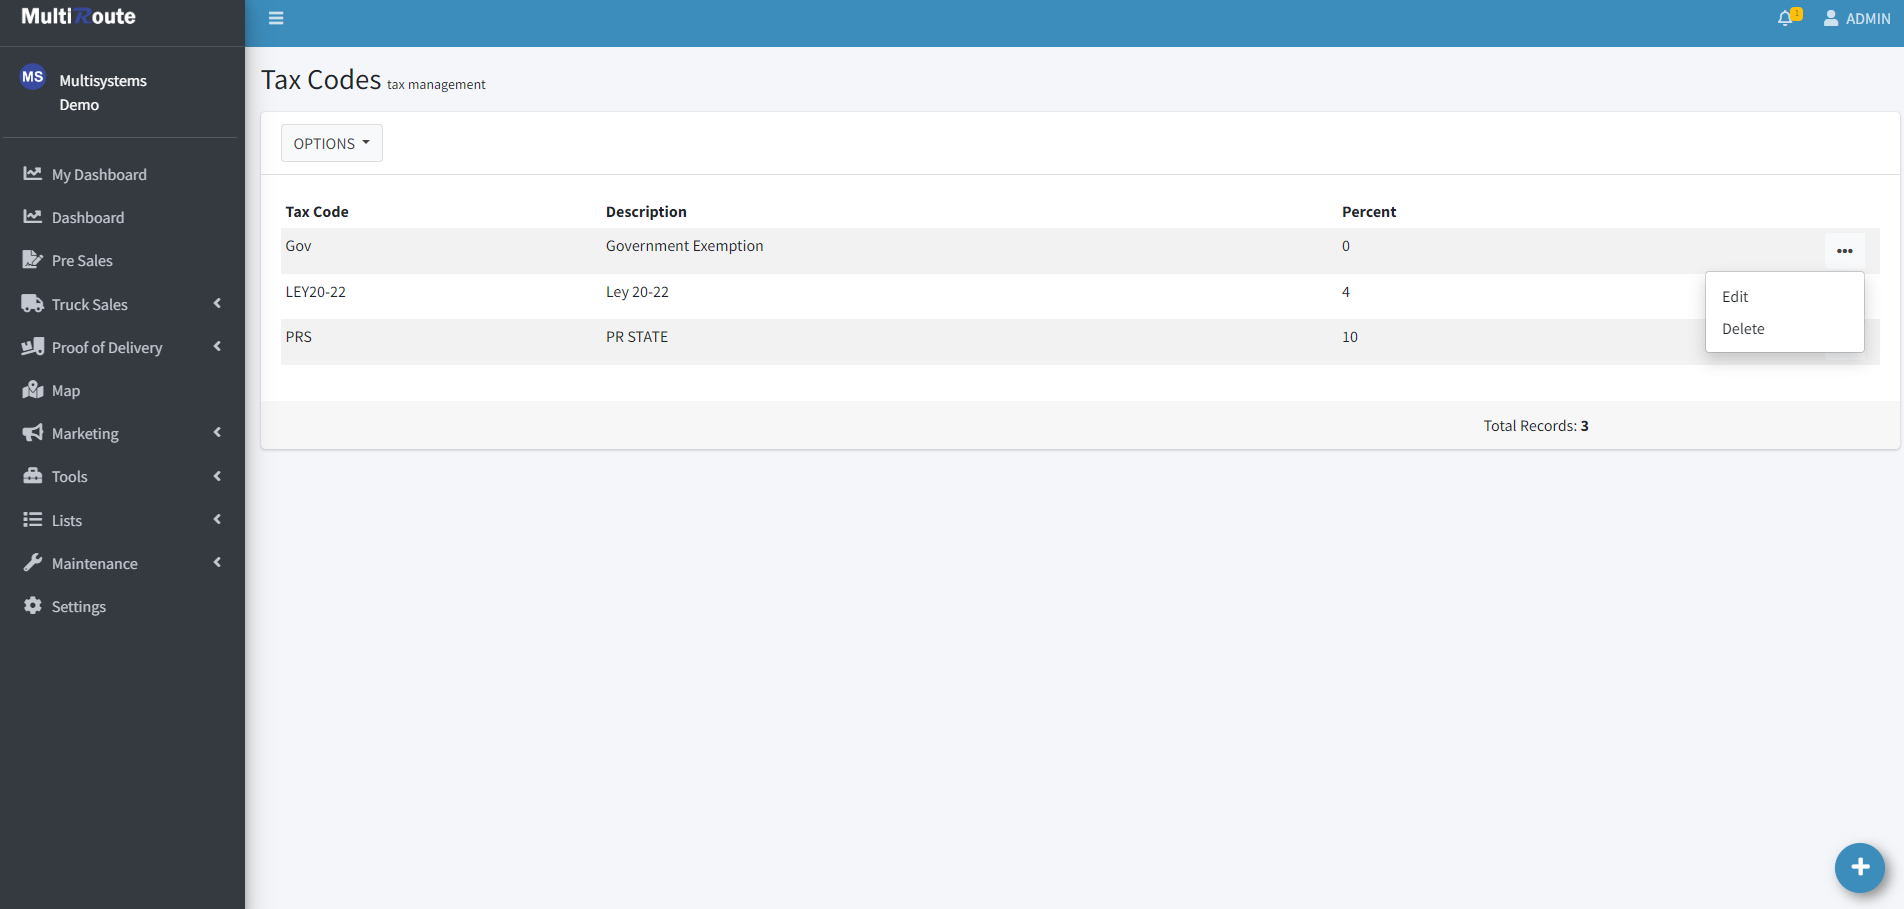
Through here, Tax Maintenance Codes can be created, edited and deleted.
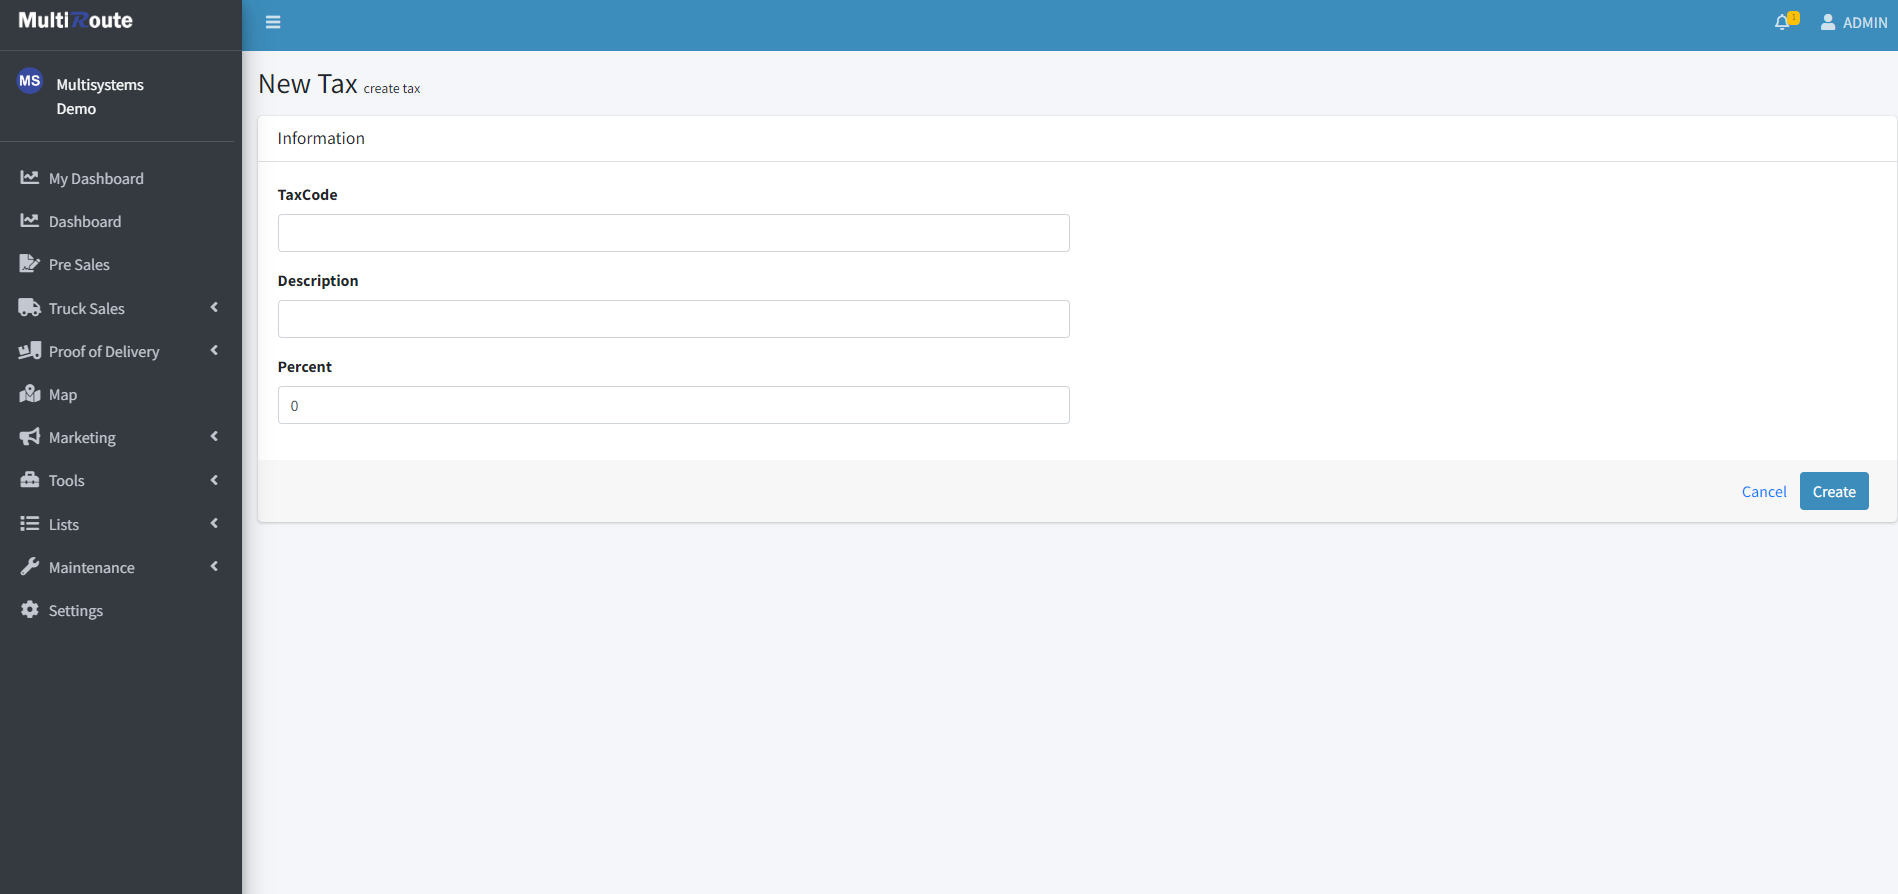
Create New Tax Code
To create a new Tax Maintenance Code, press the blue button at the bottom right corner of the page. This will allow the user to add the TaxCode, Description, and Percent of the new tax maintenance code.
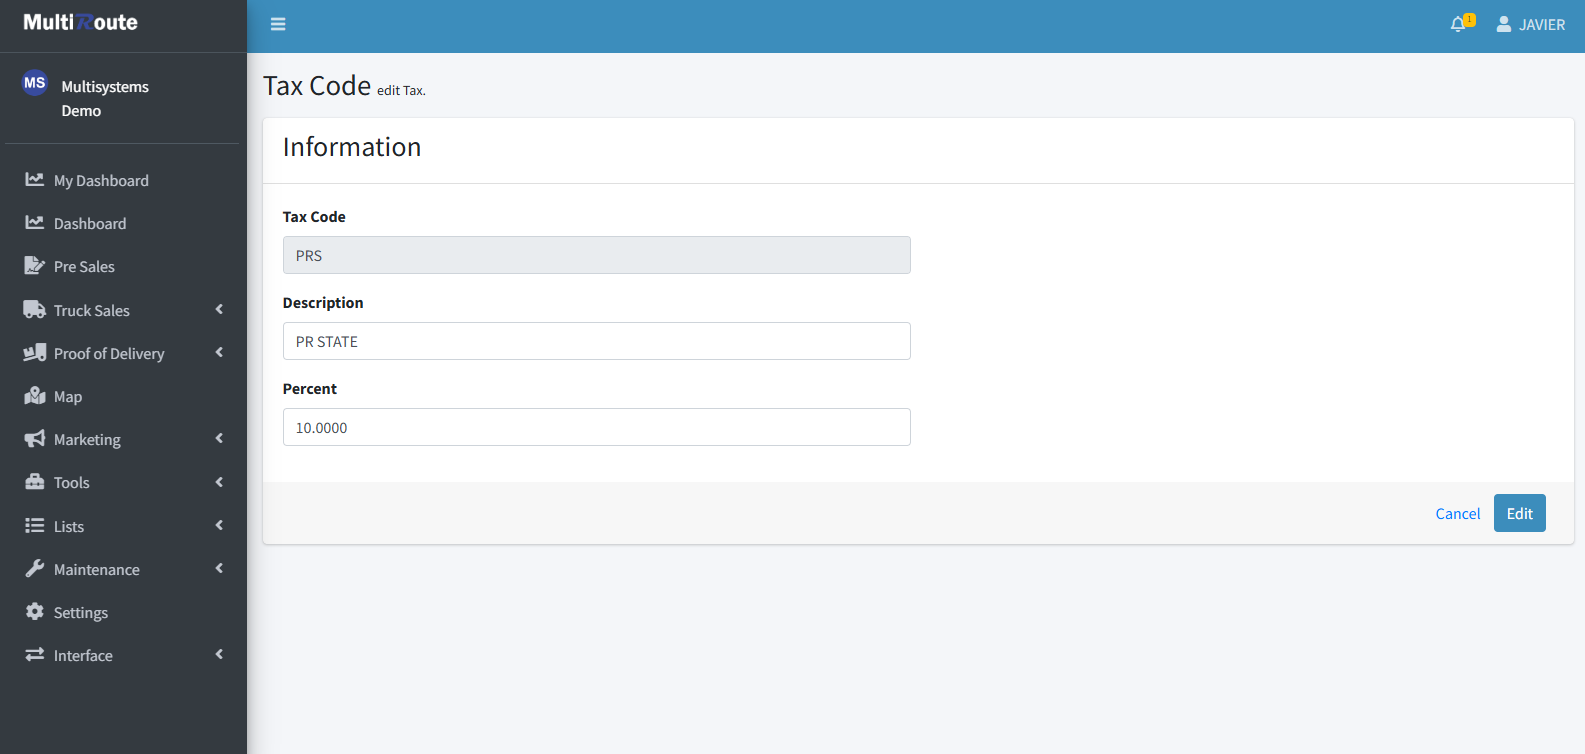
Edit Tax Code
After pressing the triple dot icon ••• to the right of a tax code, the options to Edit or Delete, to delete the selected tax code, will appear. If the user selects Edit, they'll be able to modify the the TaxCode, Description, and Percent of the selected tax maintenance code.
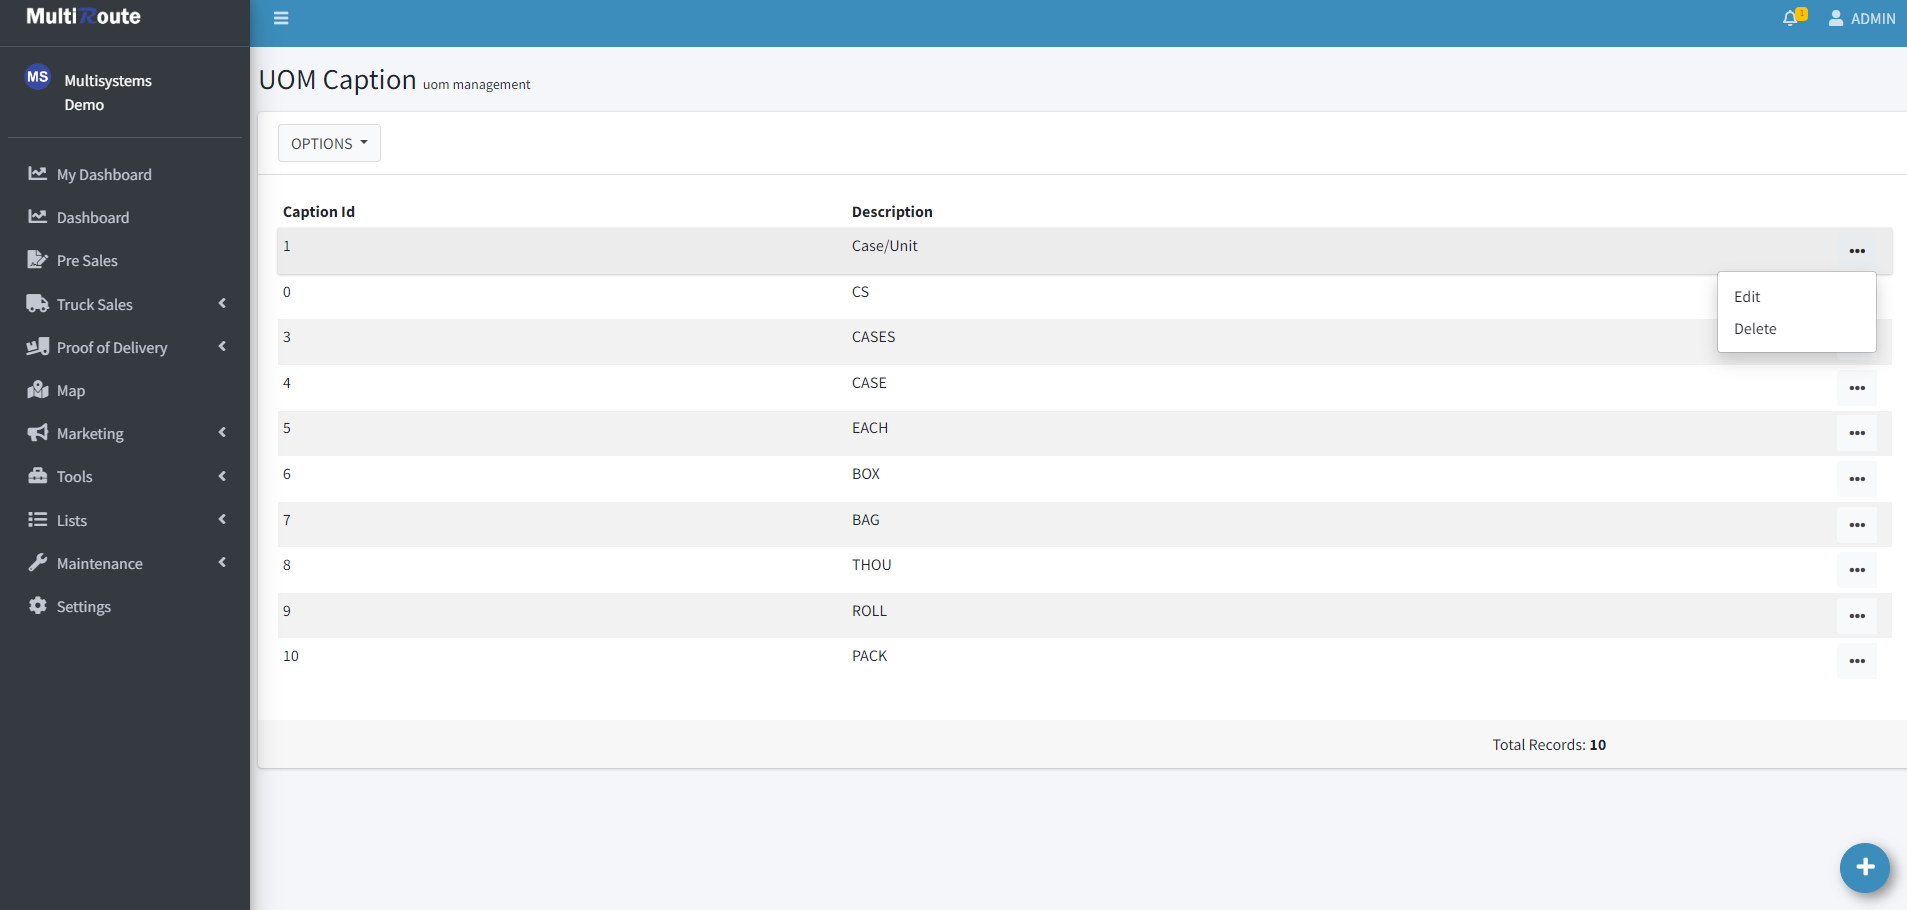
UOM(Unit of Measure) Caption
While on this page, the user can create, edit and delete the UOM captions. These Unit of Measurement are stored here so every item has their corresponfing UOM whenever it needs to be referenced, edited, or created.
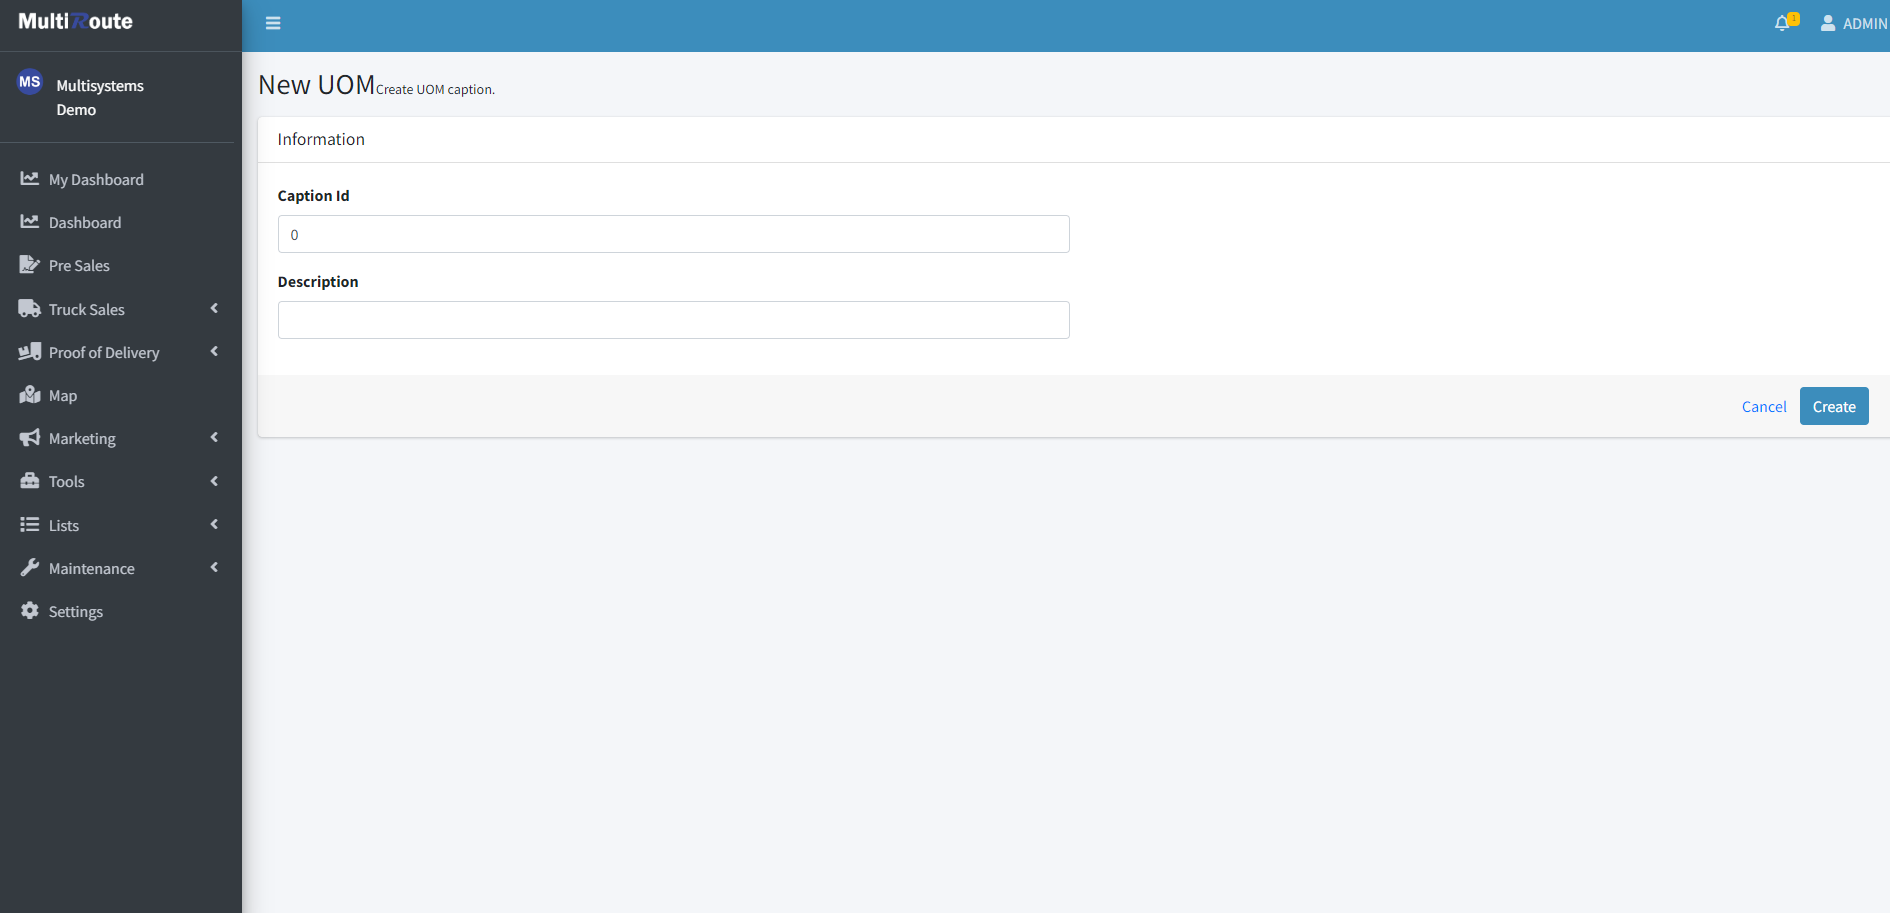
Create New UOM Caption
To create a new UOM Caption, press the blue button at the bottom right corner of the page. This will allow the user to add the Caption Id and the Description of the new UOM Caption.
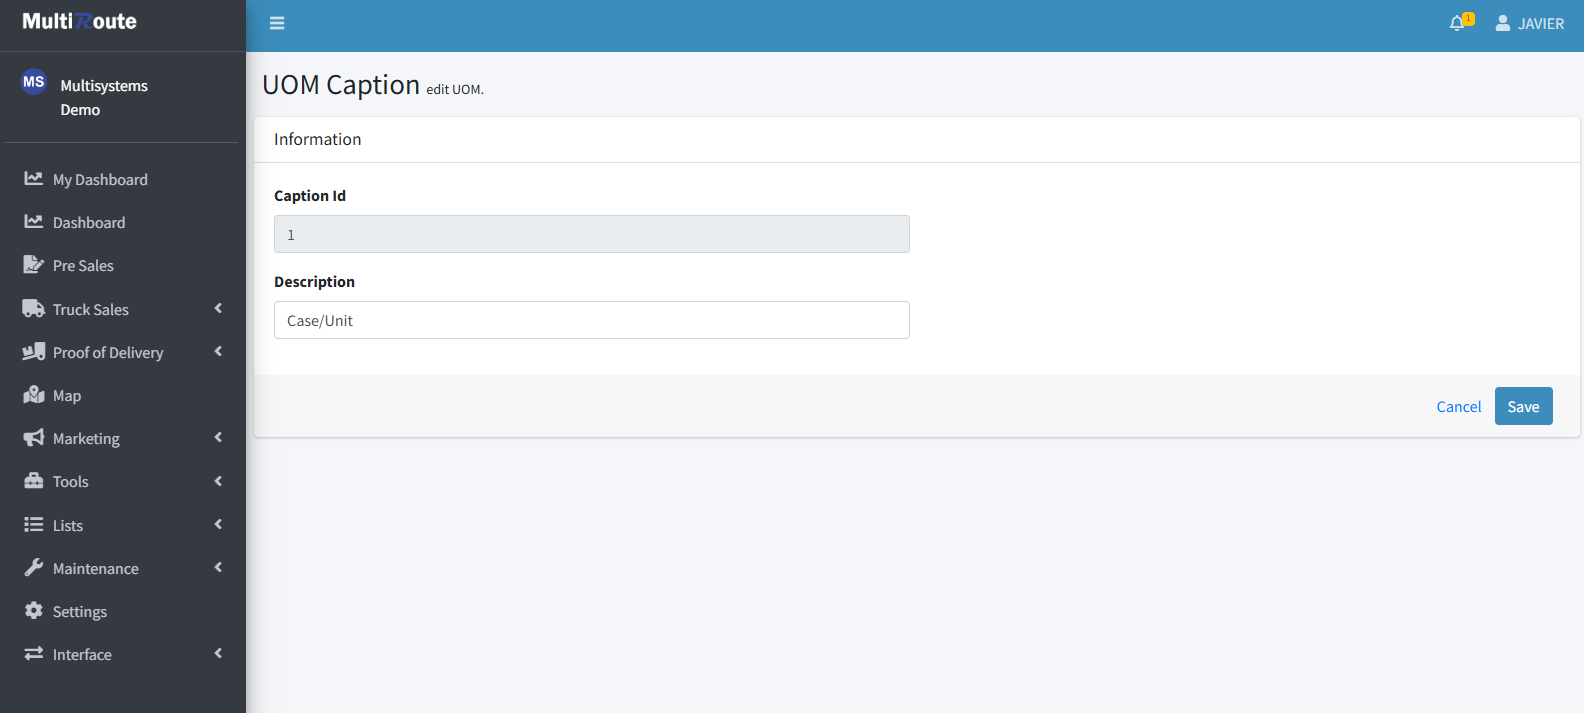
Edit UOM Caption
After pressing the triple dot icon ••• to the right of an UOM caption, the options to Edit or Delete, to delete the selected UOM caption, will appear. If the user selects Edit, they'll be able to modify the the Caption ID and the Description of the selected UOM Caption.
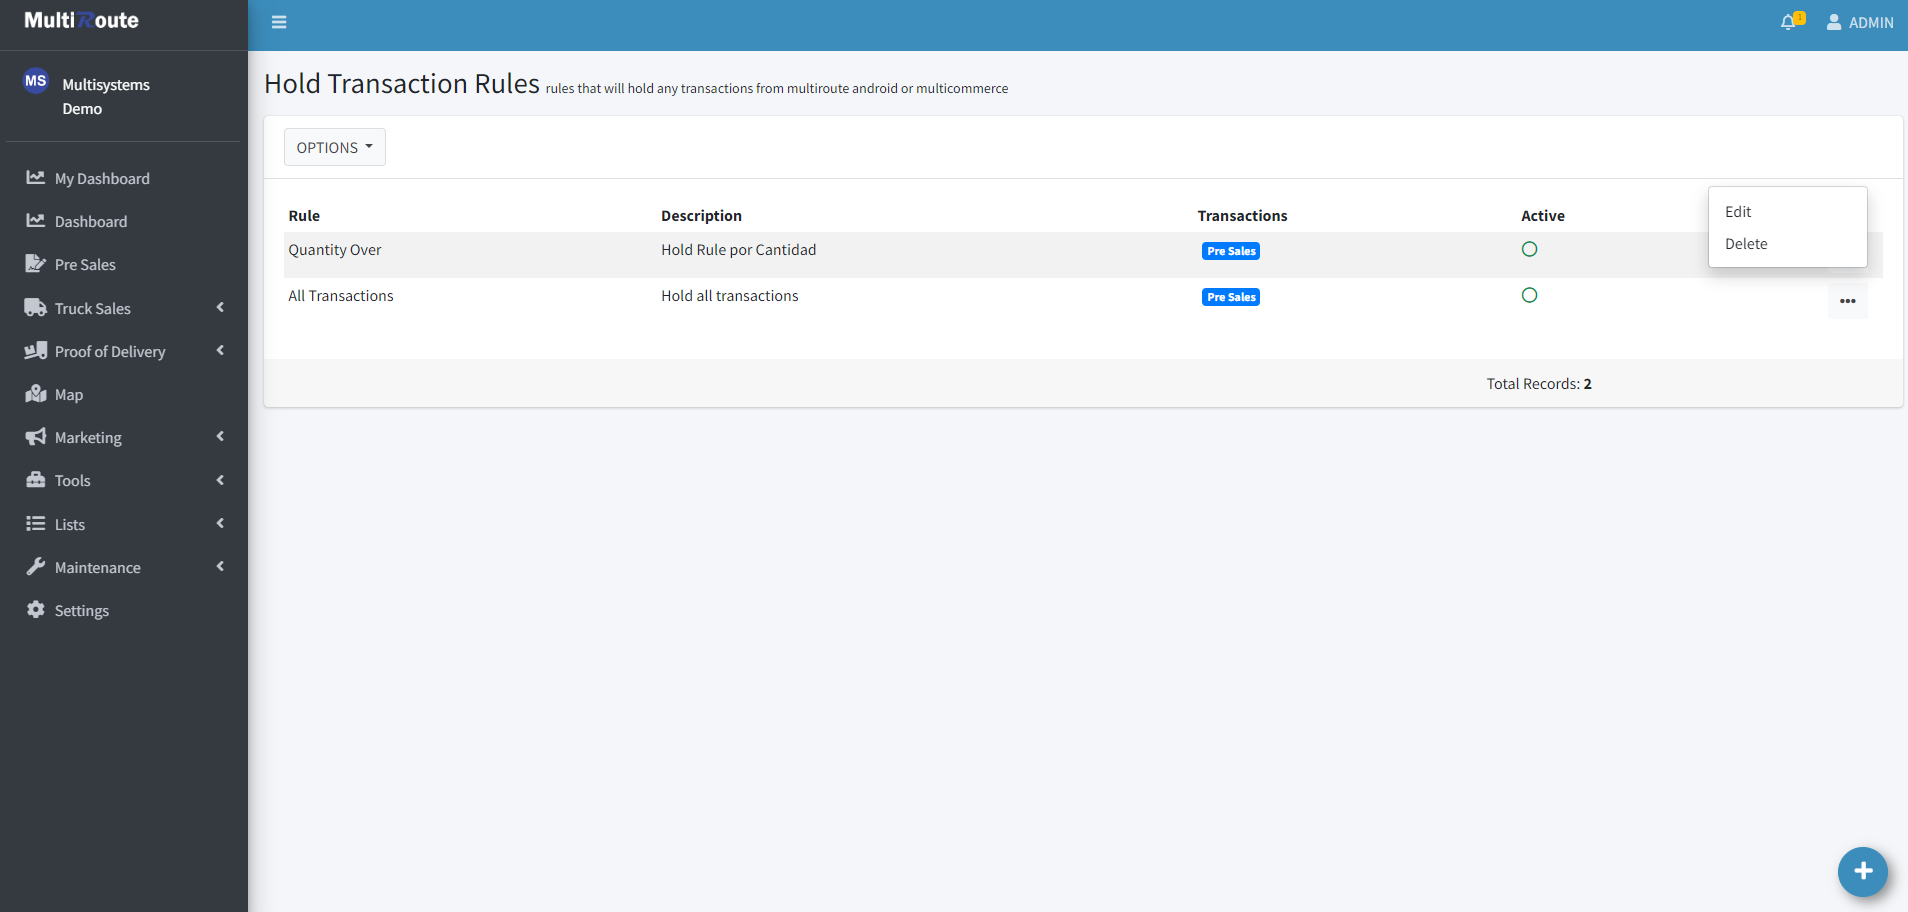
Hold Rules
On Hold rules, the user can create, edit and delete hold rules. These rules are made to hold any transactions coming from MultiRoute Android or Multicommerce. If they are active, the green dot under Active will be completely green, while if it's inactive, the dot will have a green outline and colored white inside.
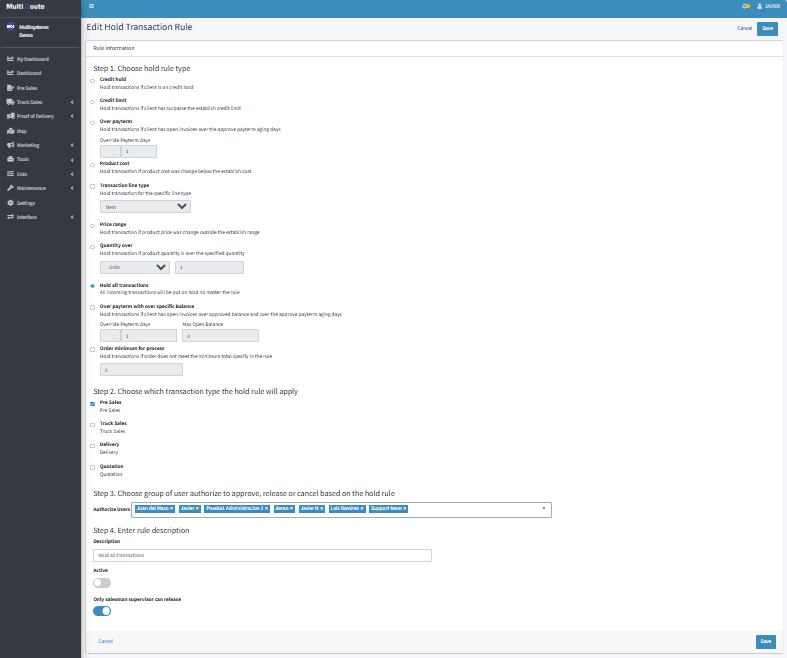
Create New Hold Rule
To create a new Hold Rule, press the blue button at the bottom right corner of the page. This will allow the user to create the Hold Rule by following the 4 steps shown on the screen and then selecting Create Rule when it's done.

Edit Hold Rule
After pressing the triple dot icon ••• to the right of a hold rule, the options to Edit or Delete, to delete the selected hold rule, will appear. If the user selects Edit, they'll be able to modify the Hold Rule by editing the desired information of the 4 steps shown on the screen and then selecting Save when it's done.
Order Hold History
On Order Hold History, the user can view the history log of all orders that were on hold and their details.
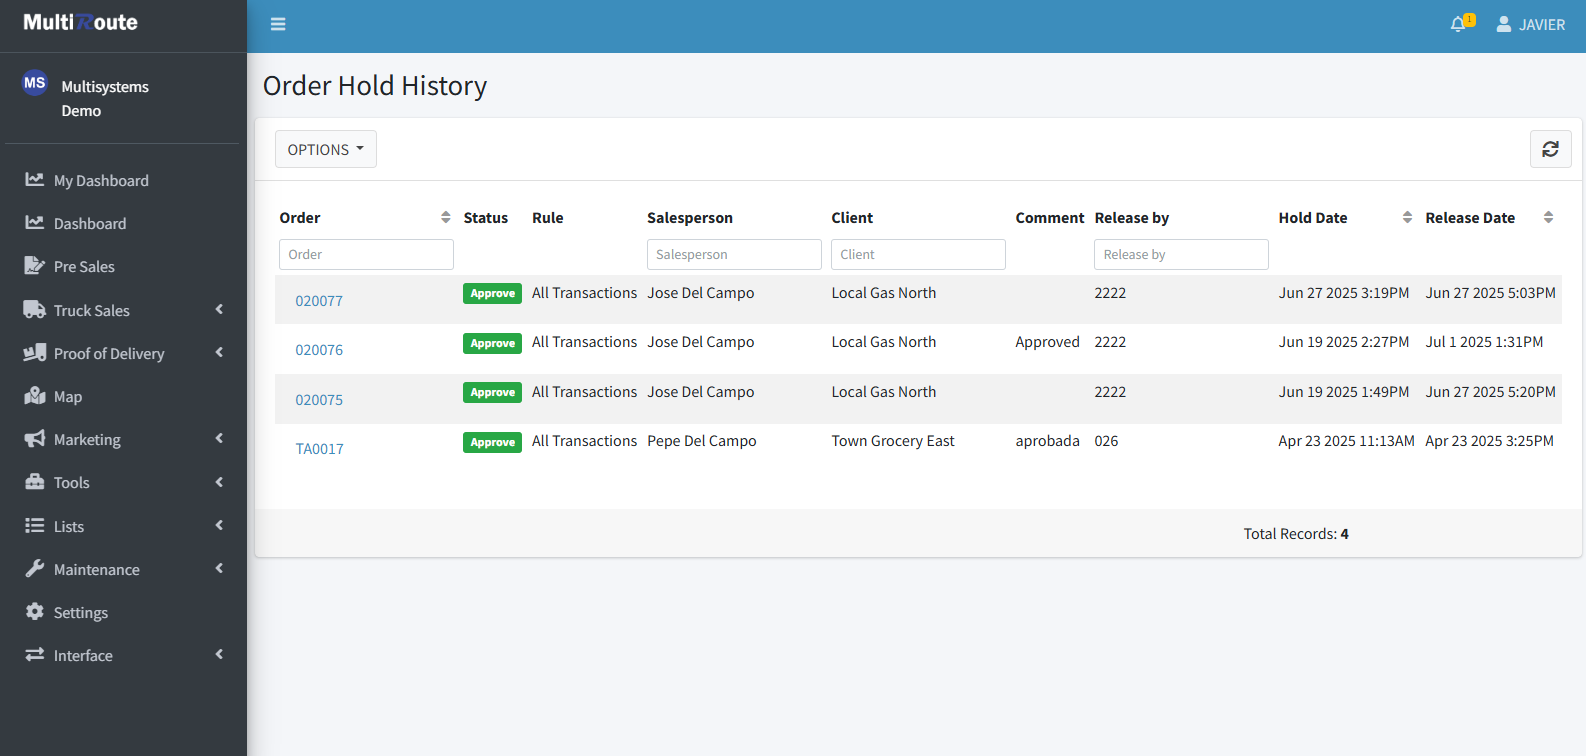
To view an order in detail, the desired order can be pressed, which will show information such as Status, Items in the order, and Order Total.
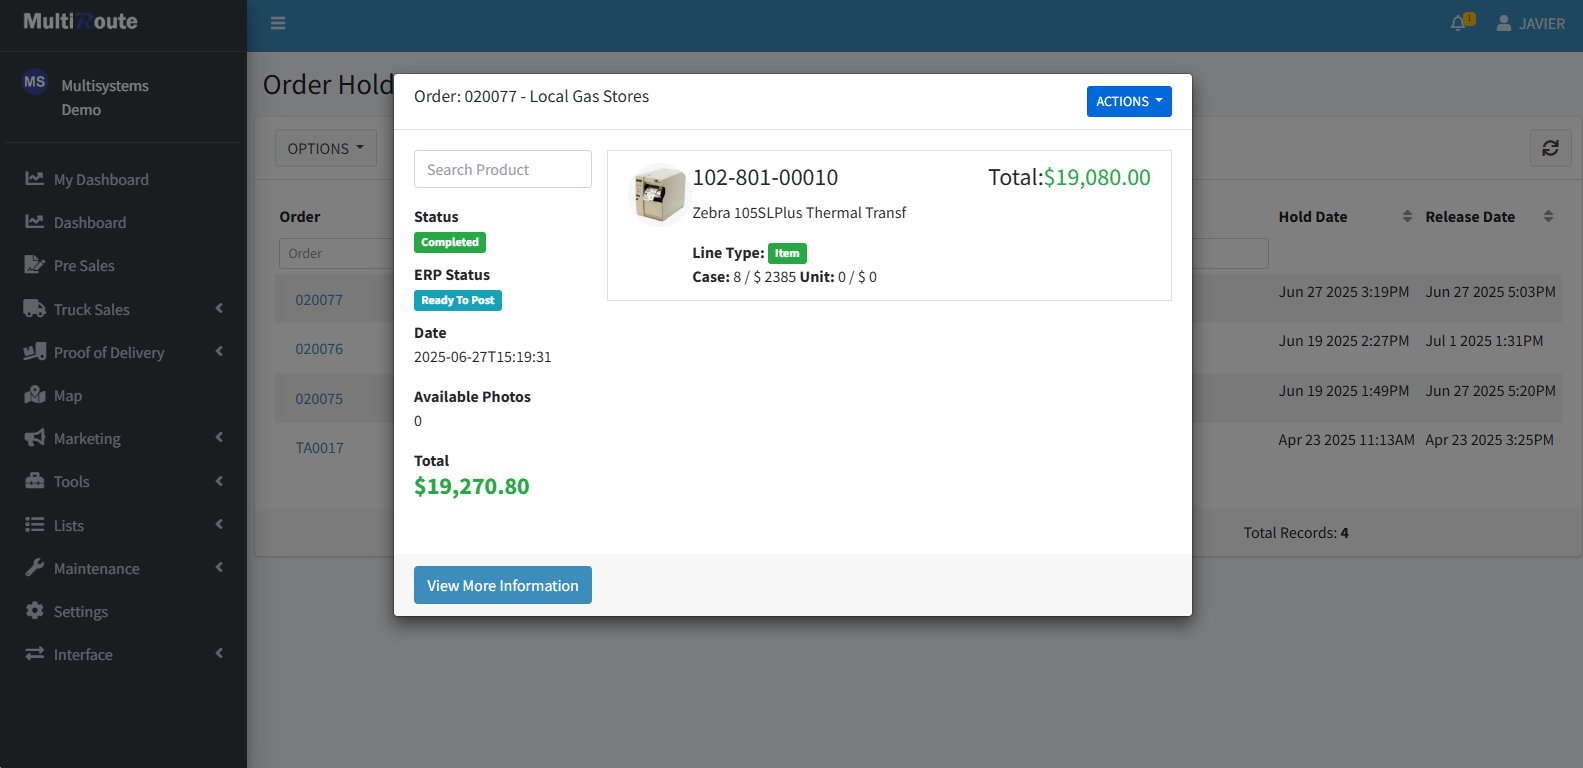
To view even more information, the user can click View More Information. This will show more data such as Address and Transaction Date while also having the Photos tab, to `view images of the order, and the Hold Status tab, to see the hold status of the order.
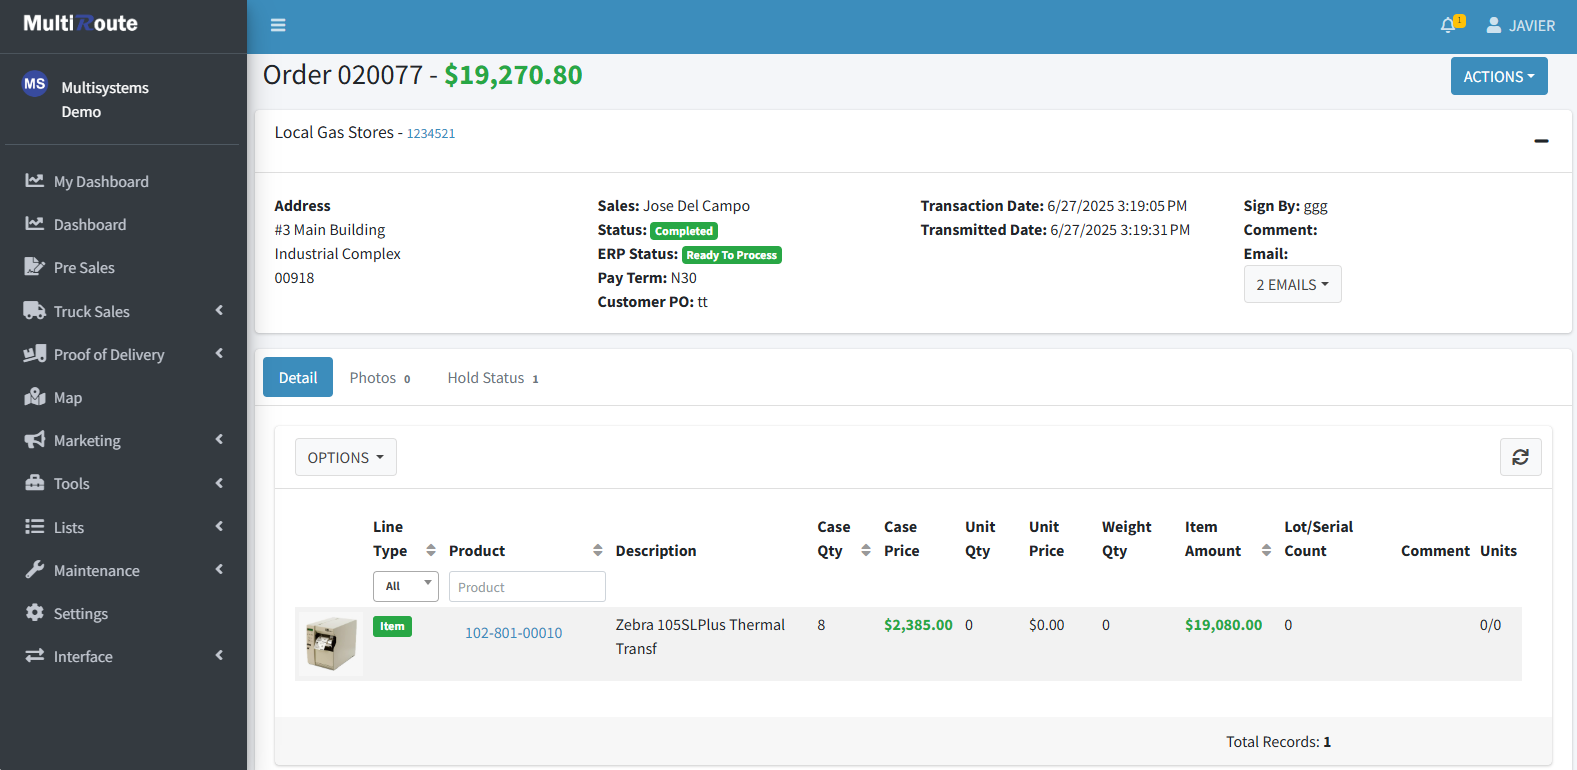
Additionally, by pressing the ACTIONS button on the top right, the user can Void the order, Generate PDFs, and View Reports.
Entity Maintenance
Through the Entity Maintenance page, the user can view and edit entity table behavior. These entities act as a base for all of the objects when being created such as products being the base for all products and clients being the base for all clients.
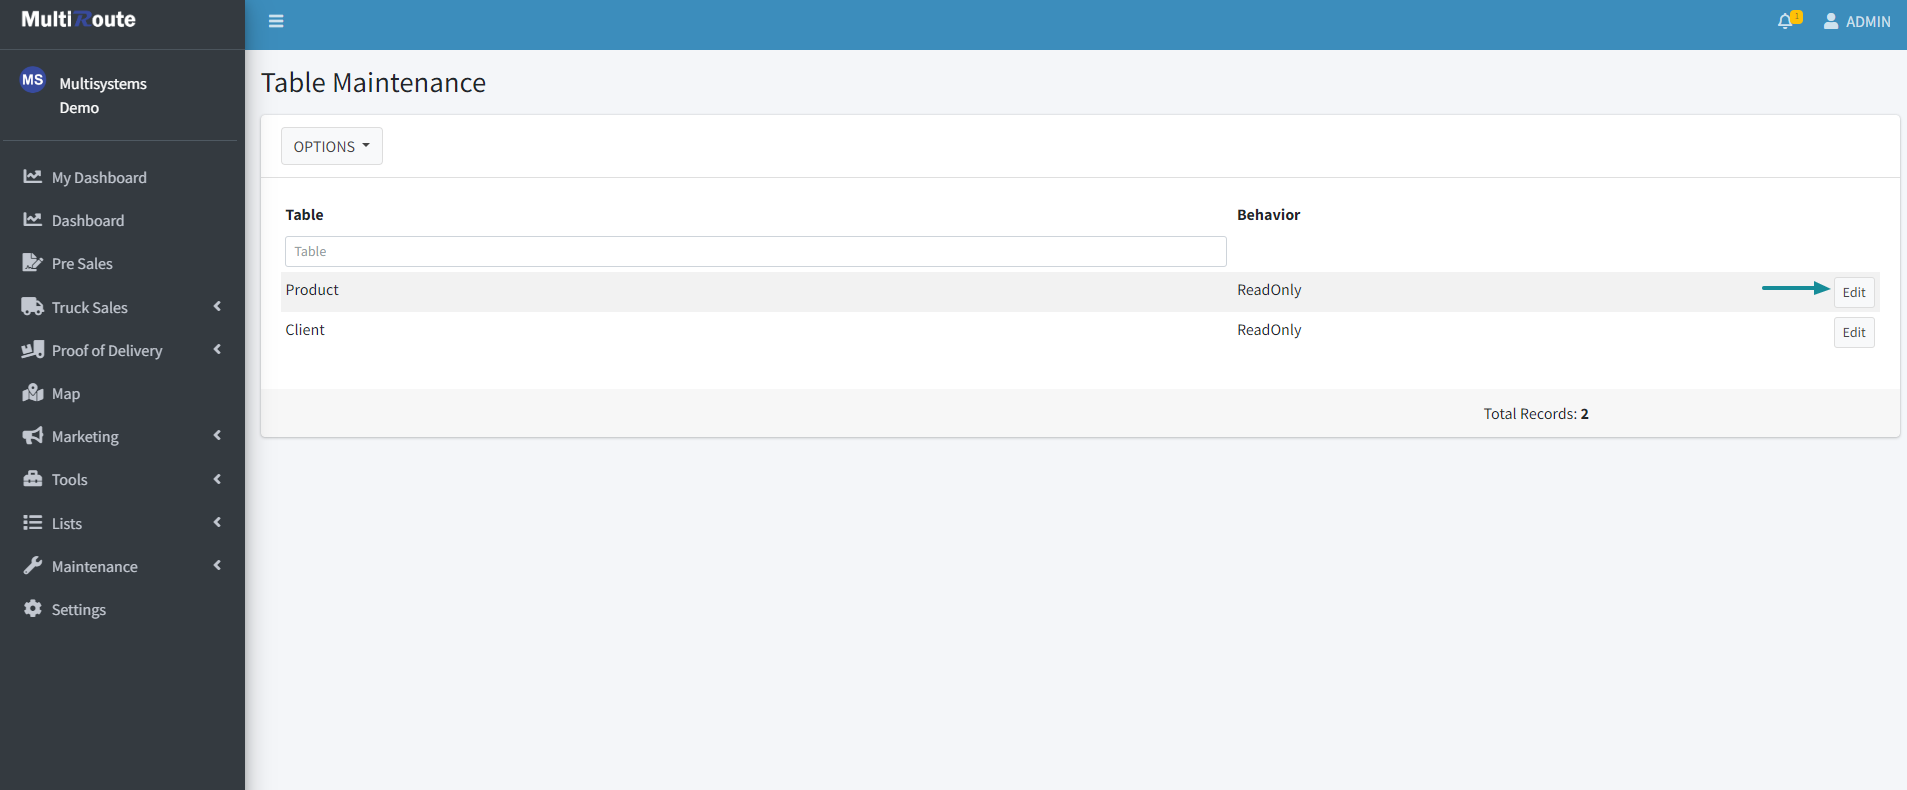
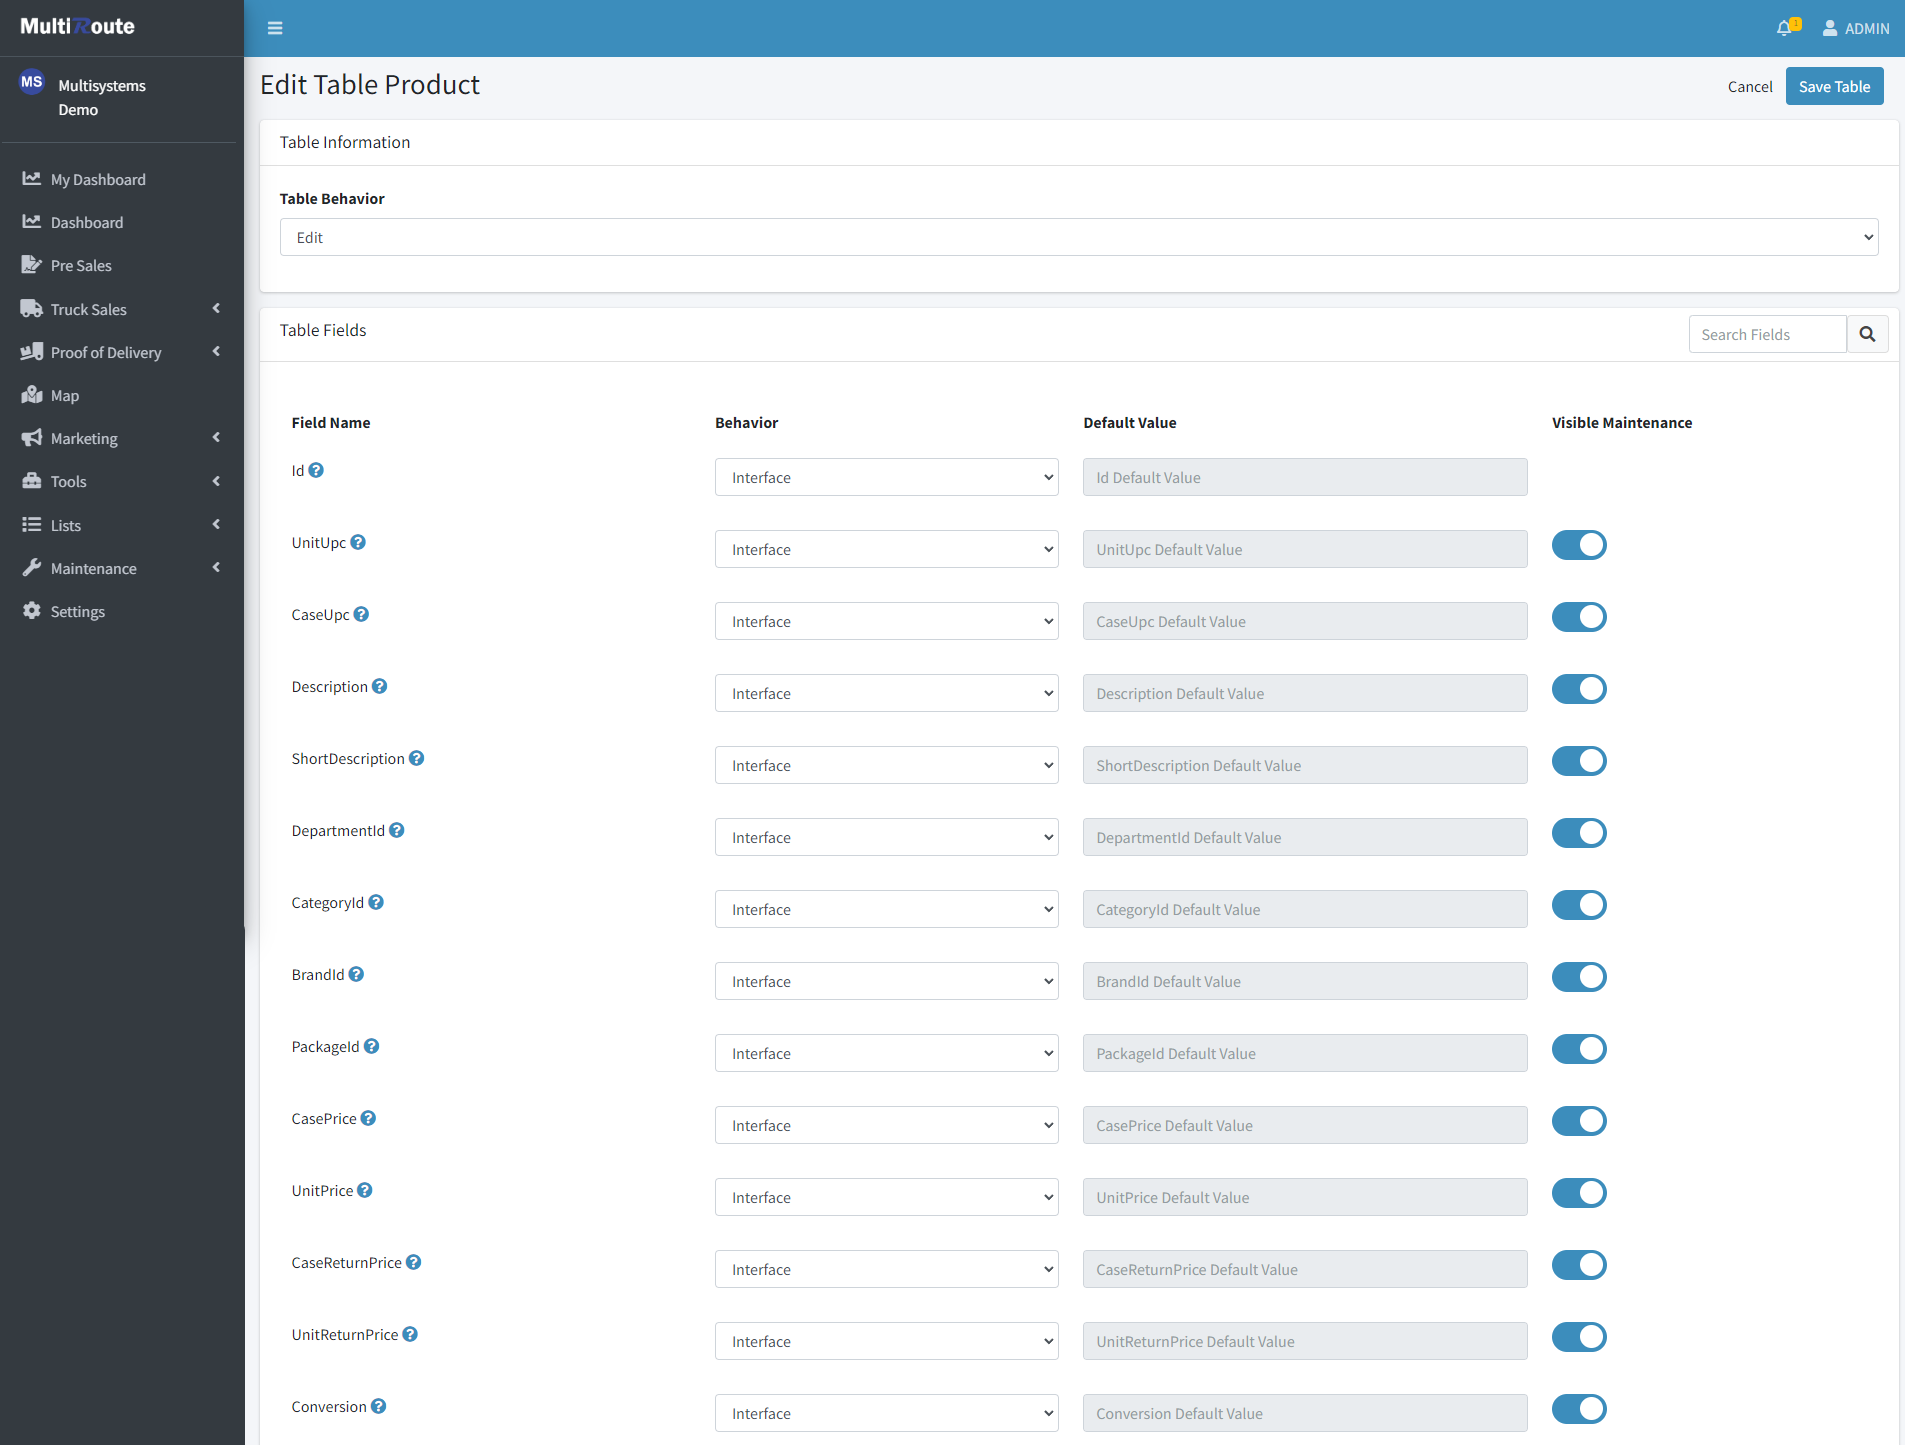
Edit Entity
By clicking on Edit next to an _entity, the user will be taken to the Edit Table page, which will allow them to edit the Table Fields by Product ID such as Behavior and Maintenance Visibility. More importantly, through this page the user can edit the entity's Table Behavior, which will affect the stuff you can do with the Products and Clients tables listed under Lists. If the behavior is set to Edit & Create, the user will be able to view, edit, and add the corresponding entities of said table. If set to Edit, the user will be able to view and edit existing items in the entity list table, but won't be able to make new ones. If Read Only is selected, the user will only be able to view the existing entities on the list and their details. Finally, by selecting None, none of the actions above can be done, except viewing the table.
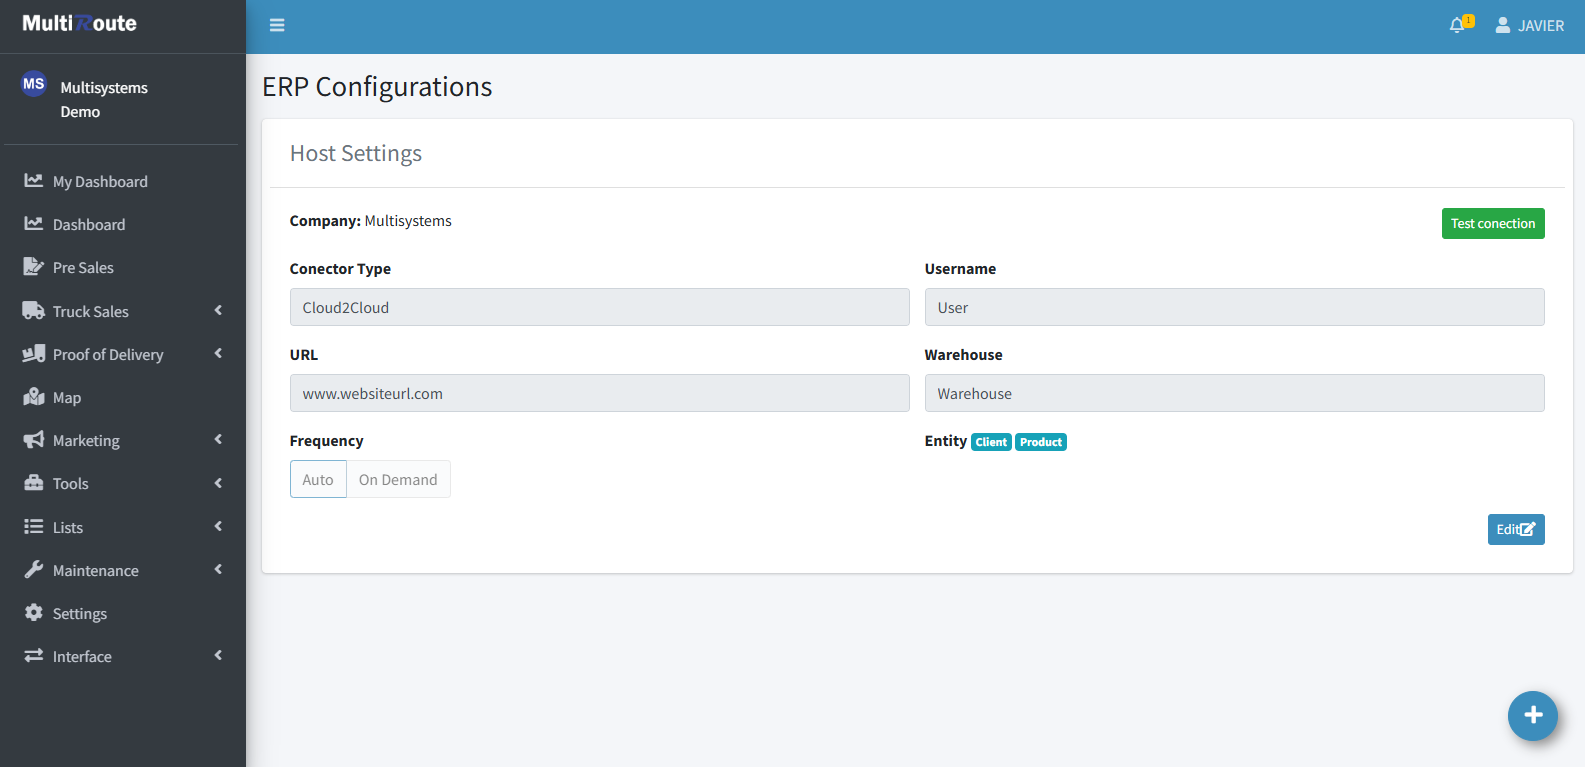
ERP API Configuration
Through this page, the user can create, edit and delete ERP API connector configurations. These configurations are used to connect ans sync the MultiRoute data with the ERP's system via the API. To test an ERP's connection, the Test Connection button can be pressed, which will show if there's an error or if the connection is successful.
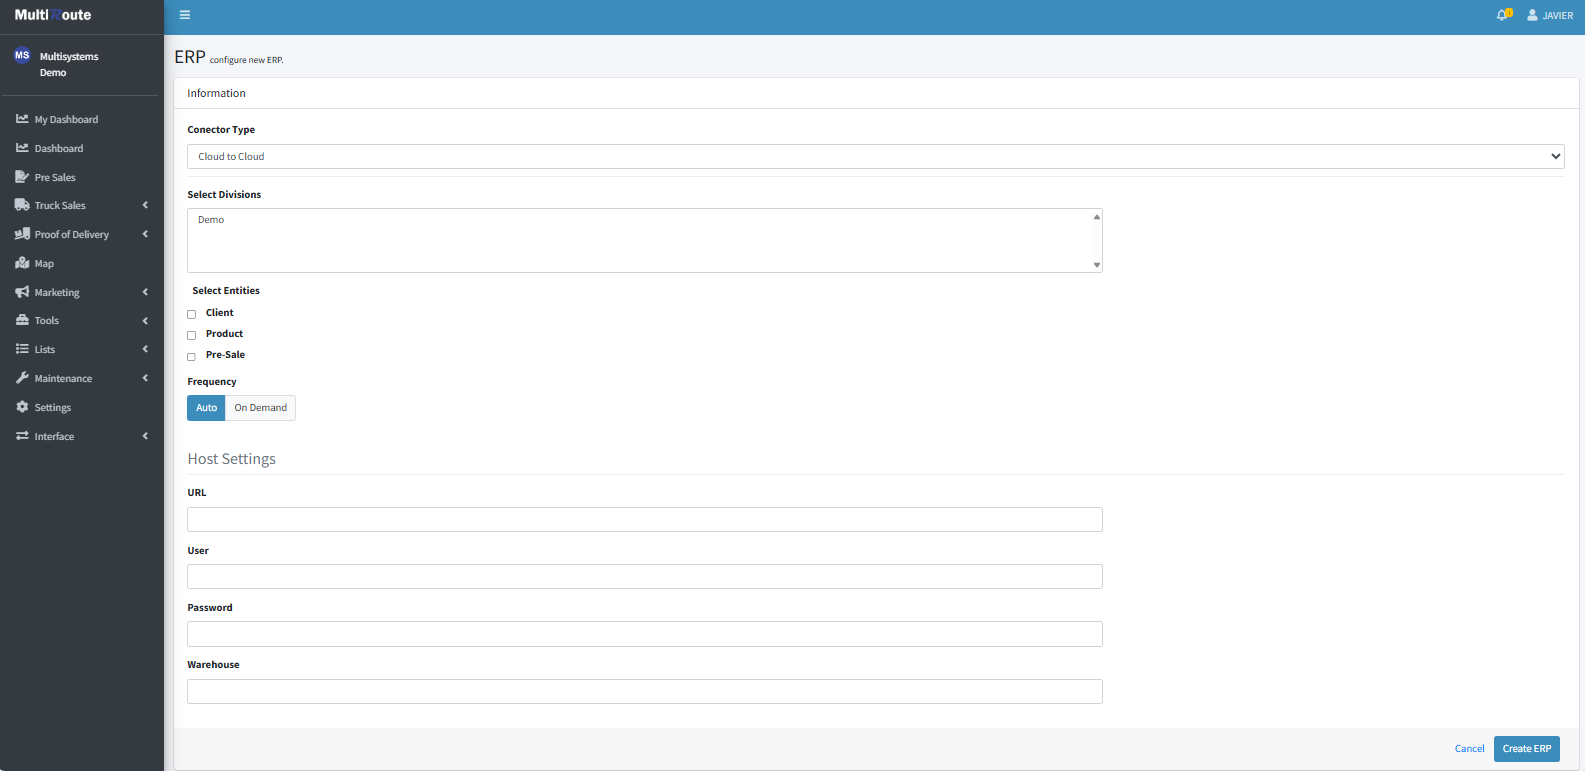
Create New ERP API Configuration
To create a new ERP API Configuration, press the blue button at the bottom right corner of the page. Afterwards, the user must select the ERP API Connector Type before selecting the Divisions, Entities, and Frequency of the connector. Then, the Host Settings must be configured by including the corresponding URL, User, Password, and Warehouse. Finally, by pressing Create ERP, the ERP API Connection will be configured.
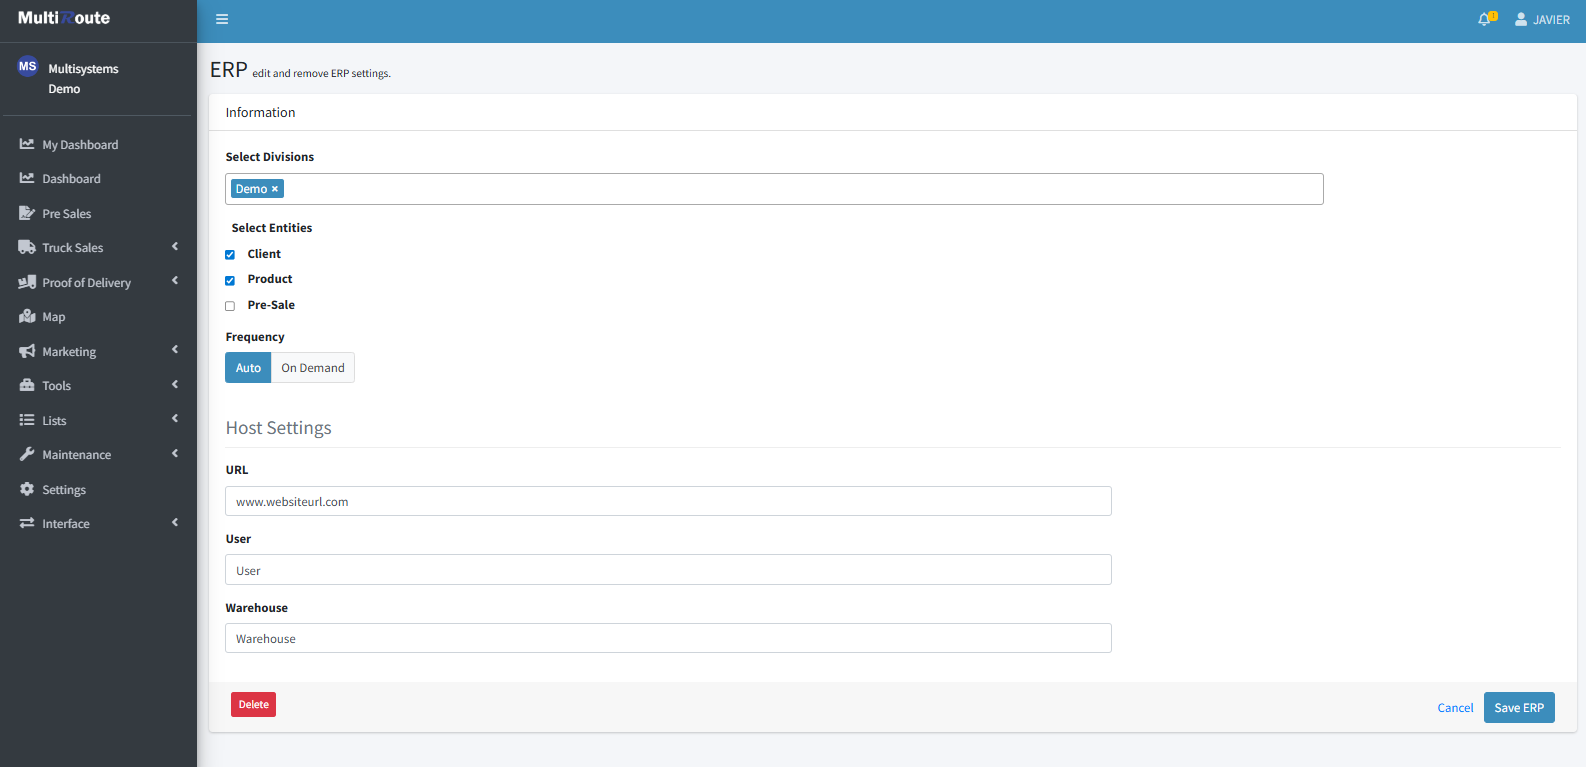
Edit ERP API Configuration
By pressing the blue Edit button on the bottom right of an ERP Configuration, the user can modify it. In here, the Divisions, Selected Entities, Frequency, URL, User, and Warehouse can all be edited and have their changes saved by pressing Save ERP, or cancelled by pressing Cancel.
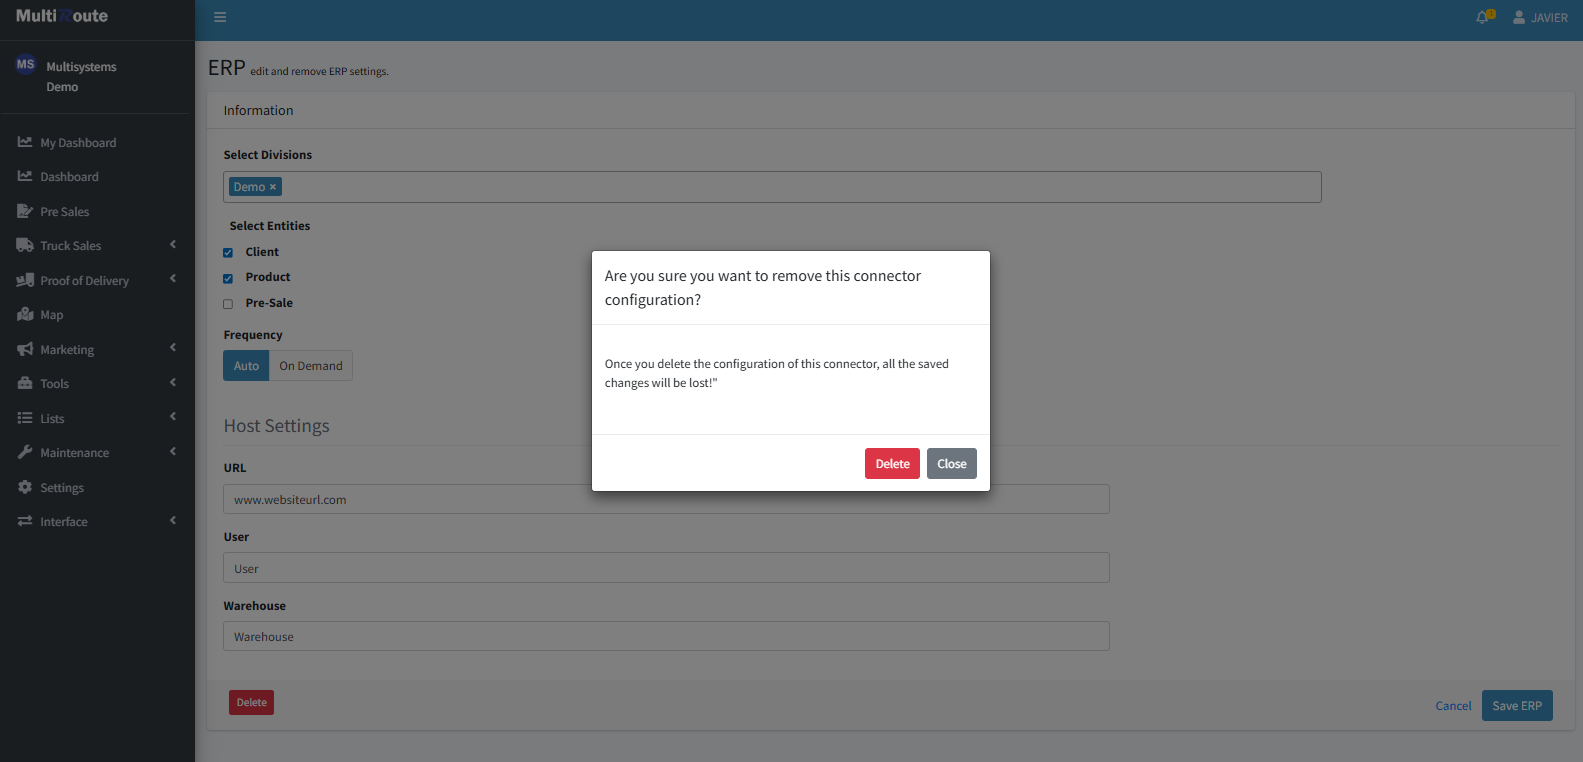
Delete ERP API Configuration
Finally, if the user wants to delete the ERP Configuration, they can do so by pressing Delete on the bottom of the ERP Connector Edit page.
Warning Tables
Any error ocurred during synchronization will be shown in Warning Tables page with all their information.

To select which type of table to view, the user can press the drop down on the top right of the screen and select which warning table they want to view.
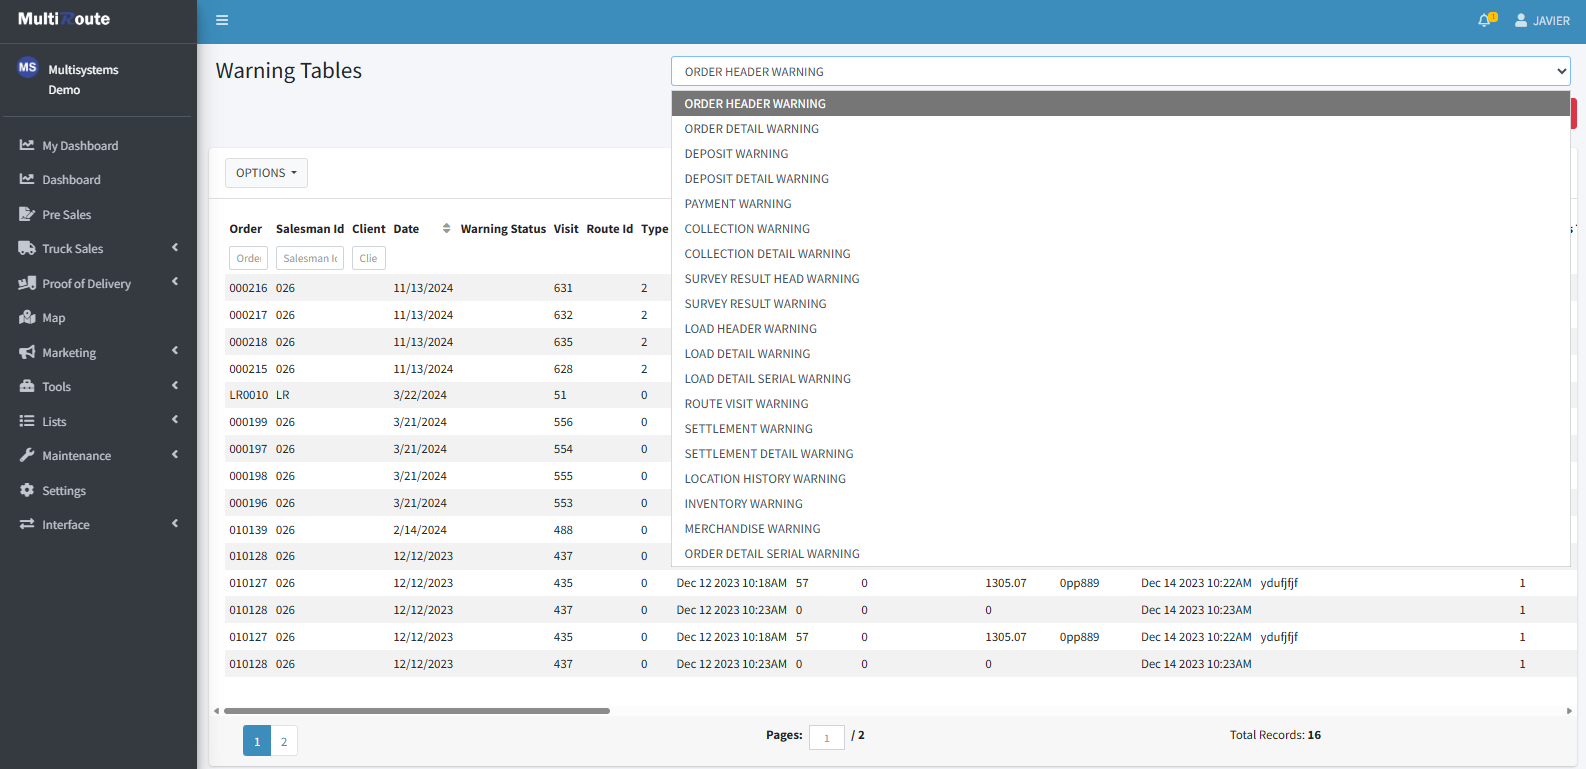
To clear the warnings of the selected warning table, the Clear Warning Table button on the top right can be pressed, which will make the table empty again.
Multiroute Android Version
In the Multiroute Android Version section, the user can view each user's installed mobile device version. If a new version exists, the Available Version column will display the version in yellow, indicating an update is required.
Note
For the full installation guide click here.

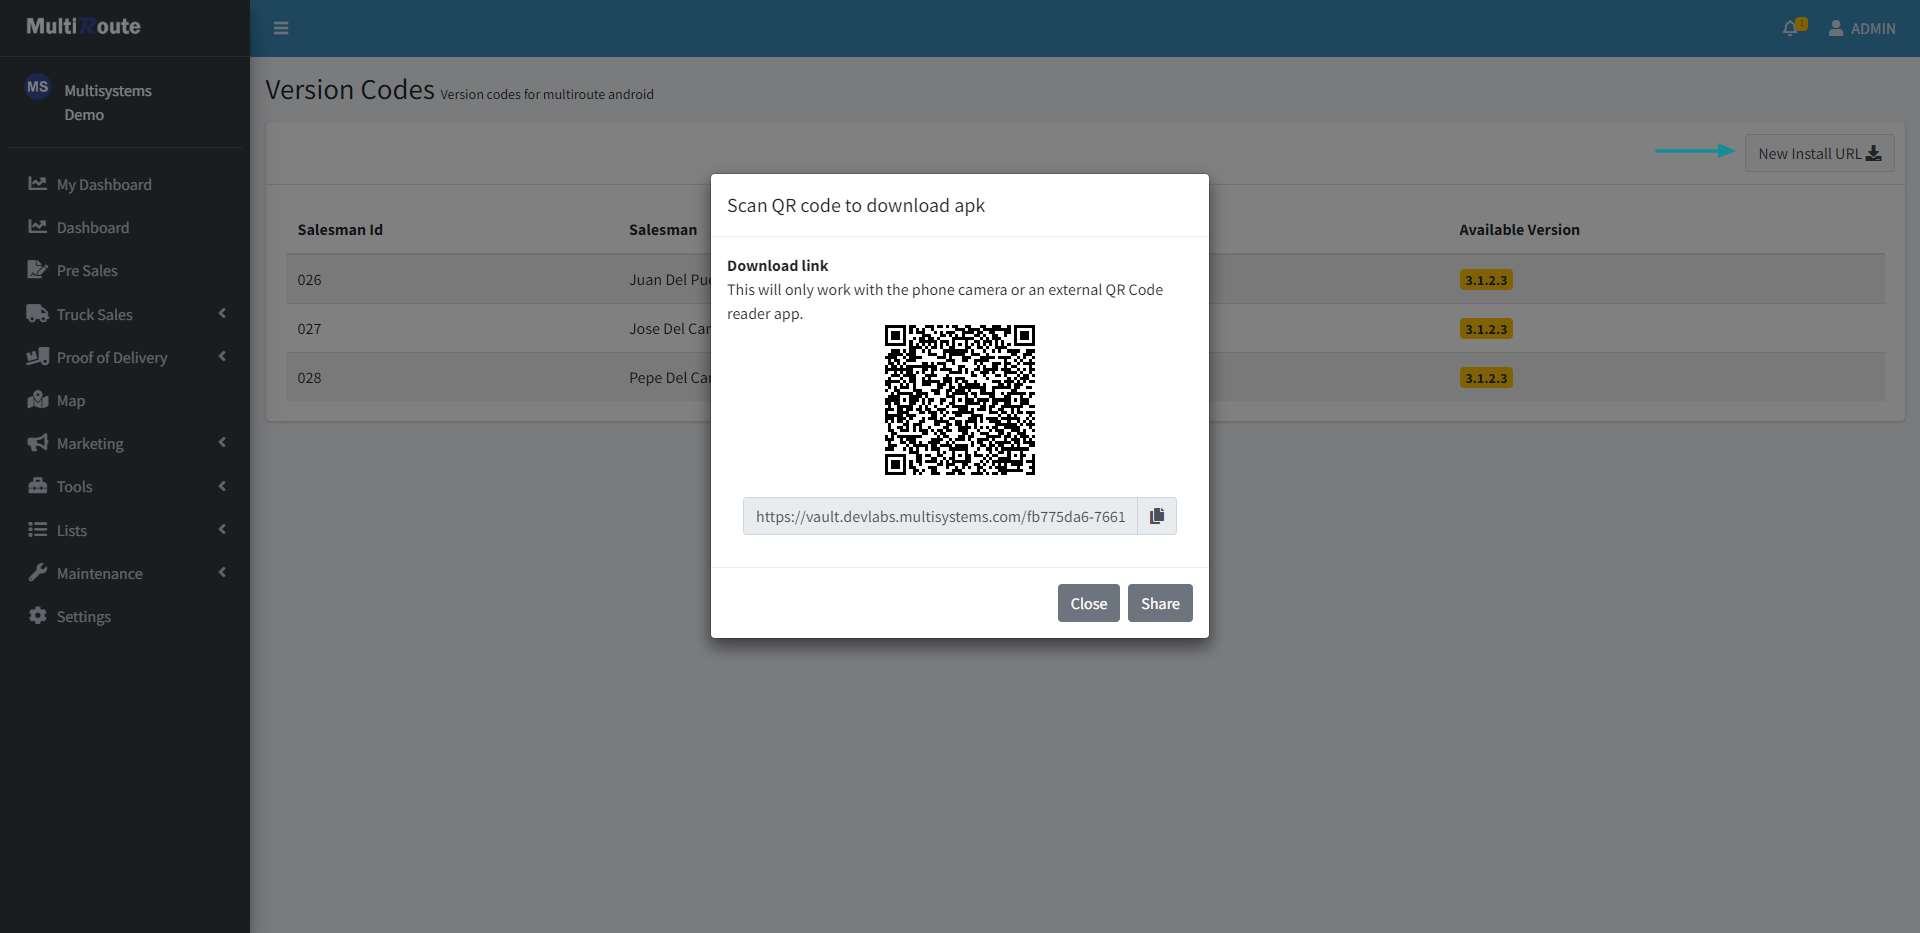
Download Link QR Code
If an update is required, the user can press New Install URL to download the new version by scanning the QR code with an external QR code reader app or using the mobile device's camera. Additionally, the URL can be copied and pasted on a web browser to access the site and download the new version.
Note
The Quick Configure feature in the Multiroute app will not work for downloading the new version. The user has to use an external QR code reader app.
Share link
Additionally, he user also has the option to share the link of the new version via email or text message.
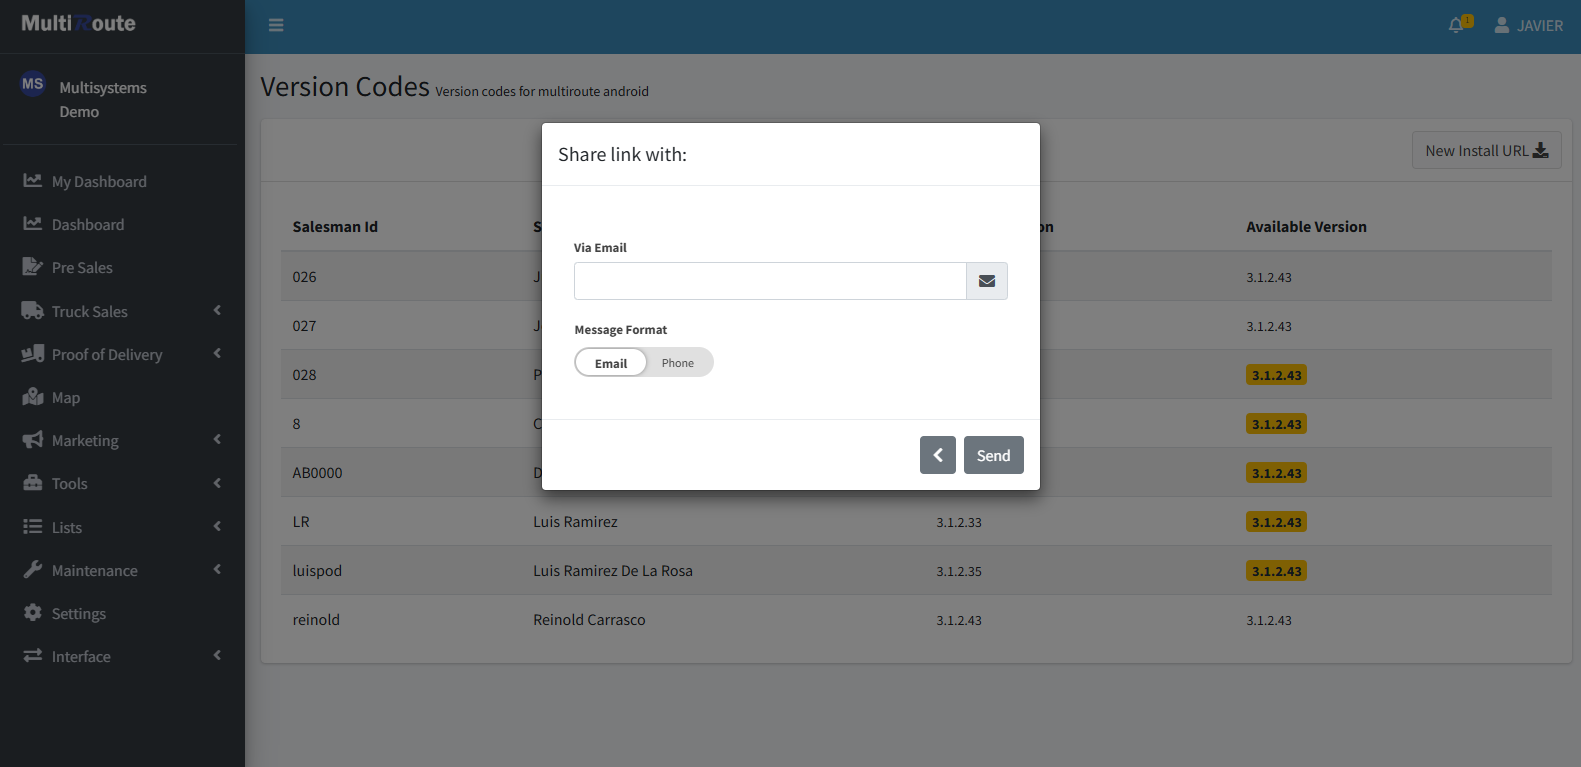
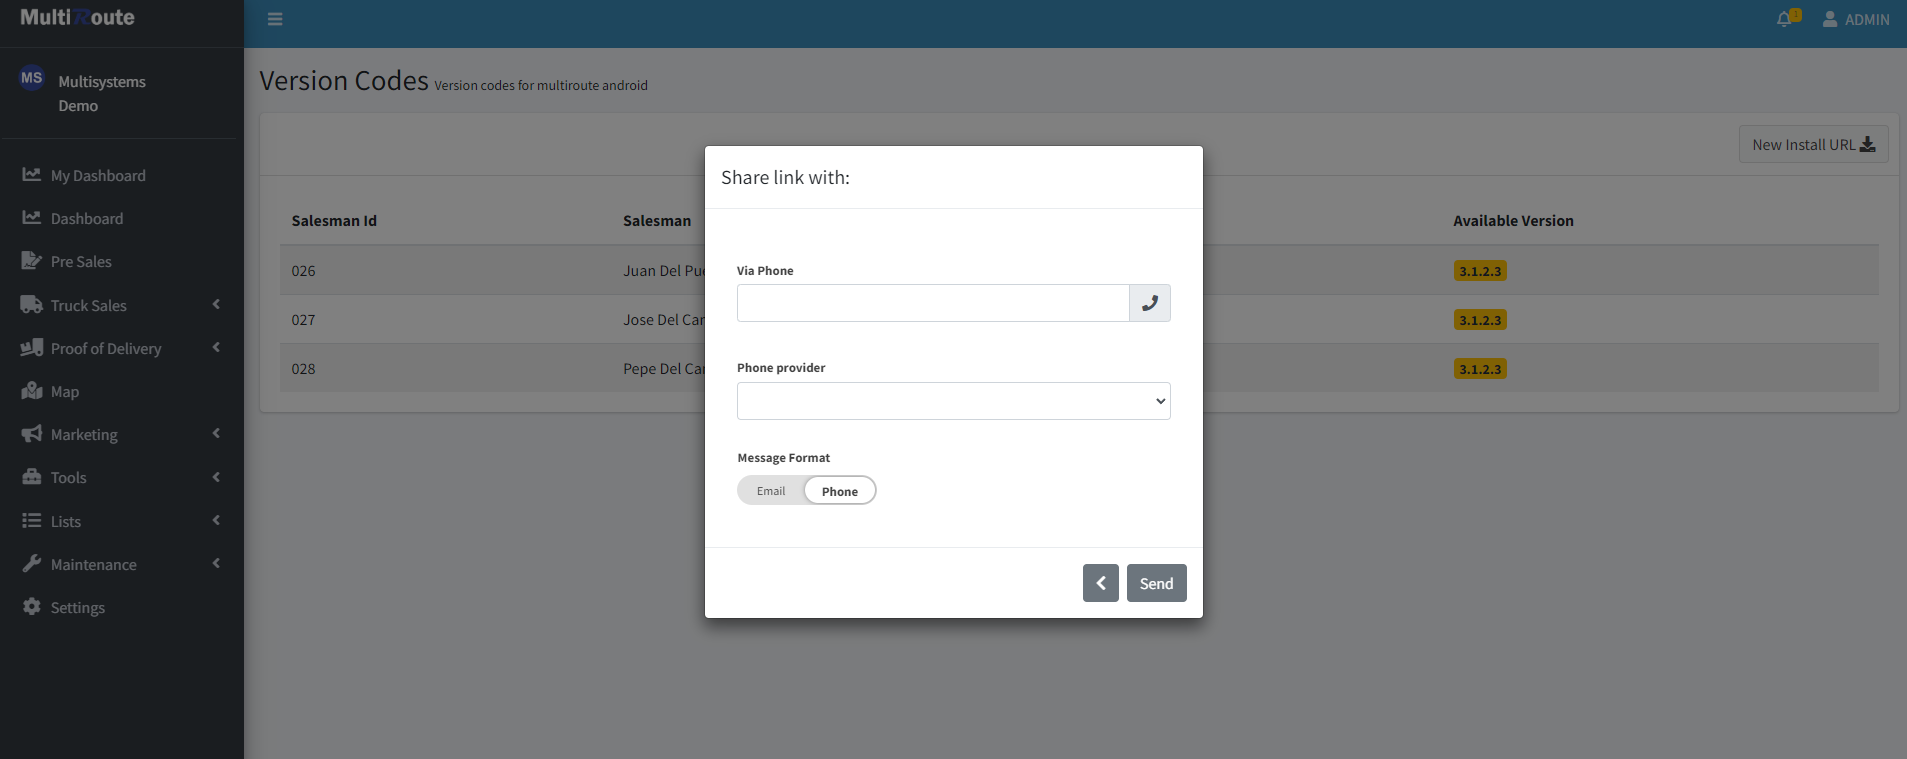
Note
For the text message option, the user will need to know the phone provider of the other person.
Company Divisions
In the Divisions section, the user will have access to add new company divisions or view and manage all the divisions created, as well as the active and inactive ones.
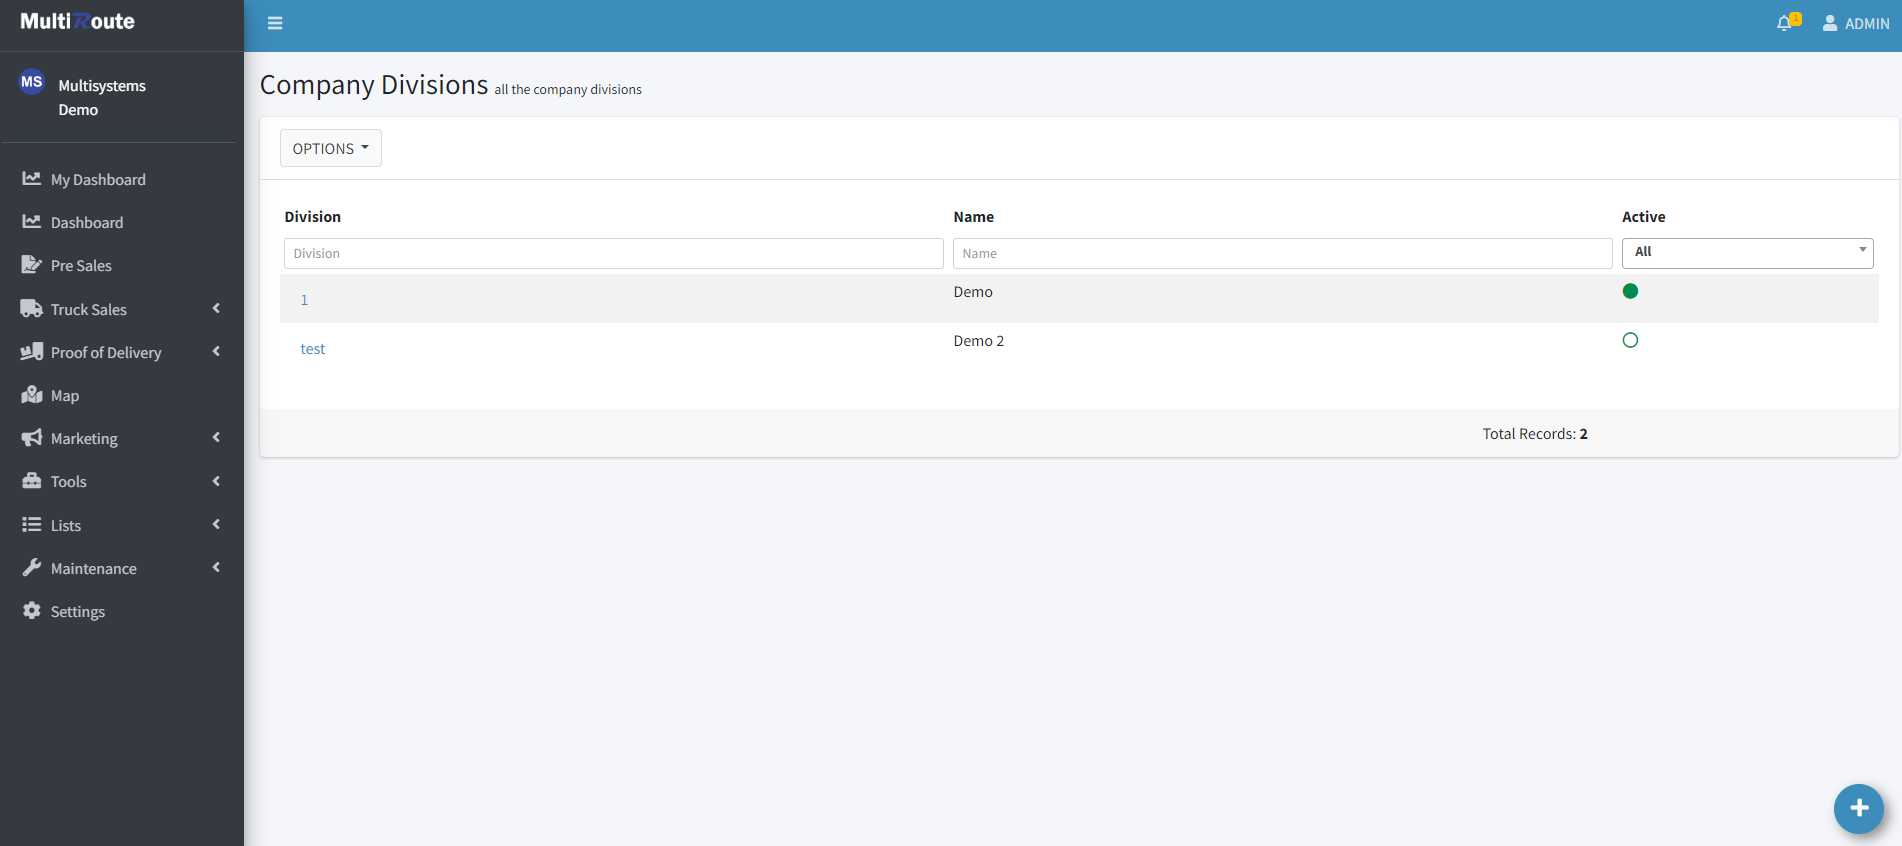
By pressing the blue button at the bottom-right of the screen, the user can create a new company division.
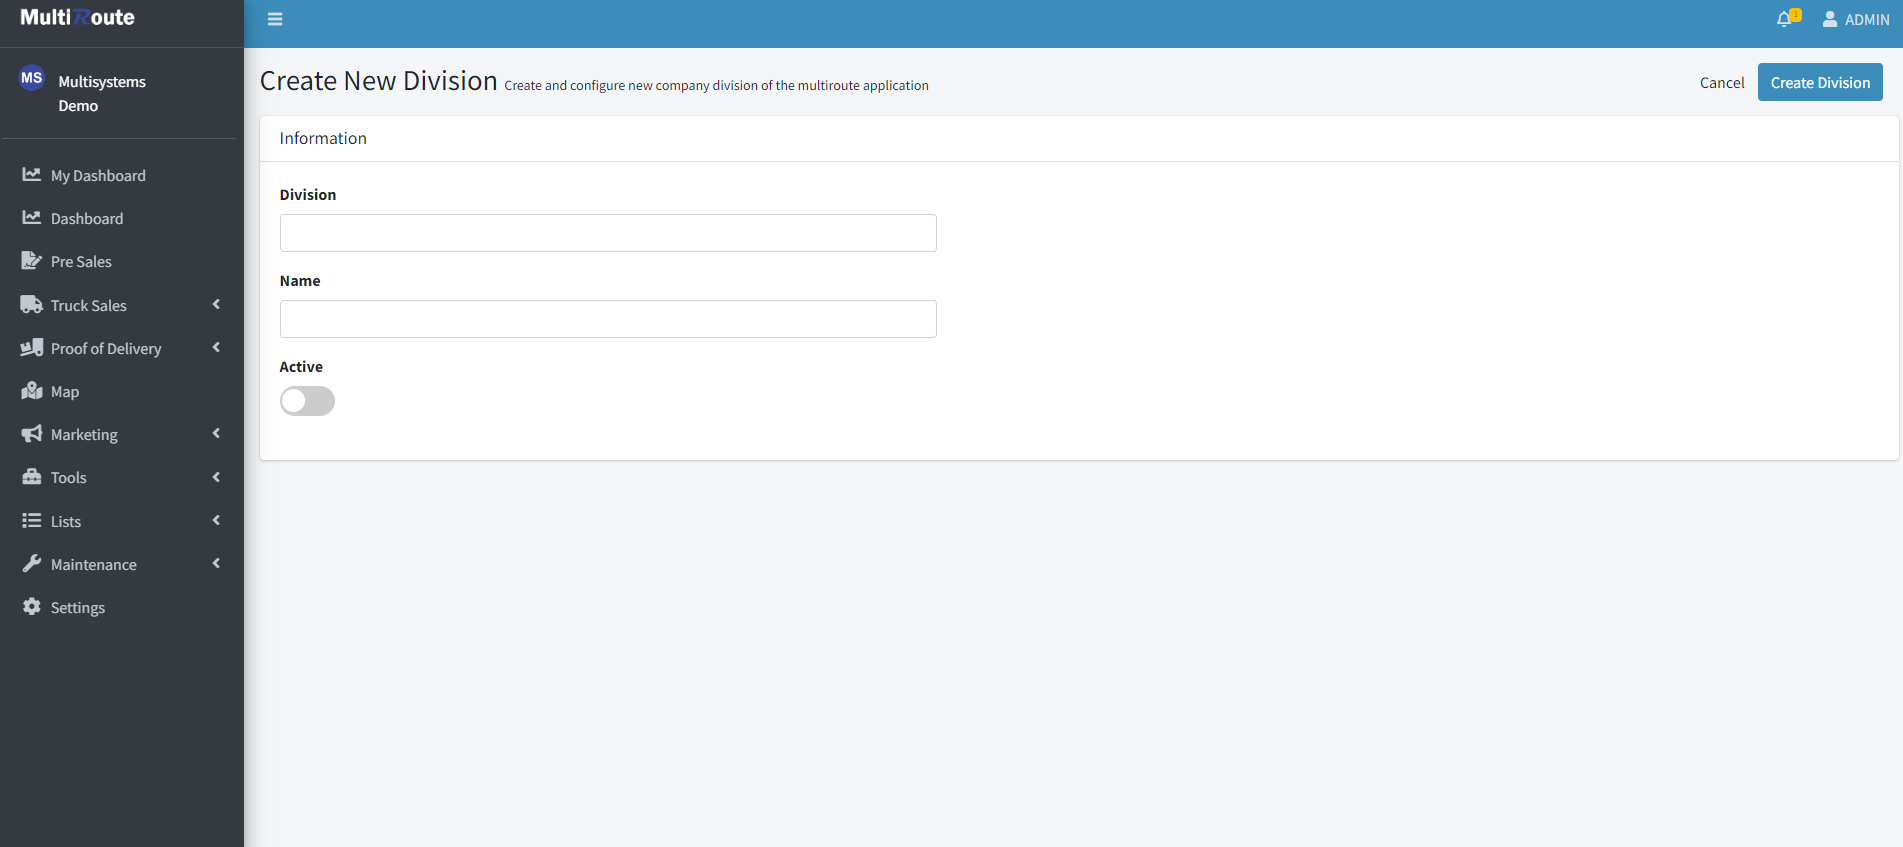
Create New Company Division
To create a new division, the user must assign a Division ID and a Name. Additionally, users can choose whether it will appear as Active or Inactive at the time of creation.
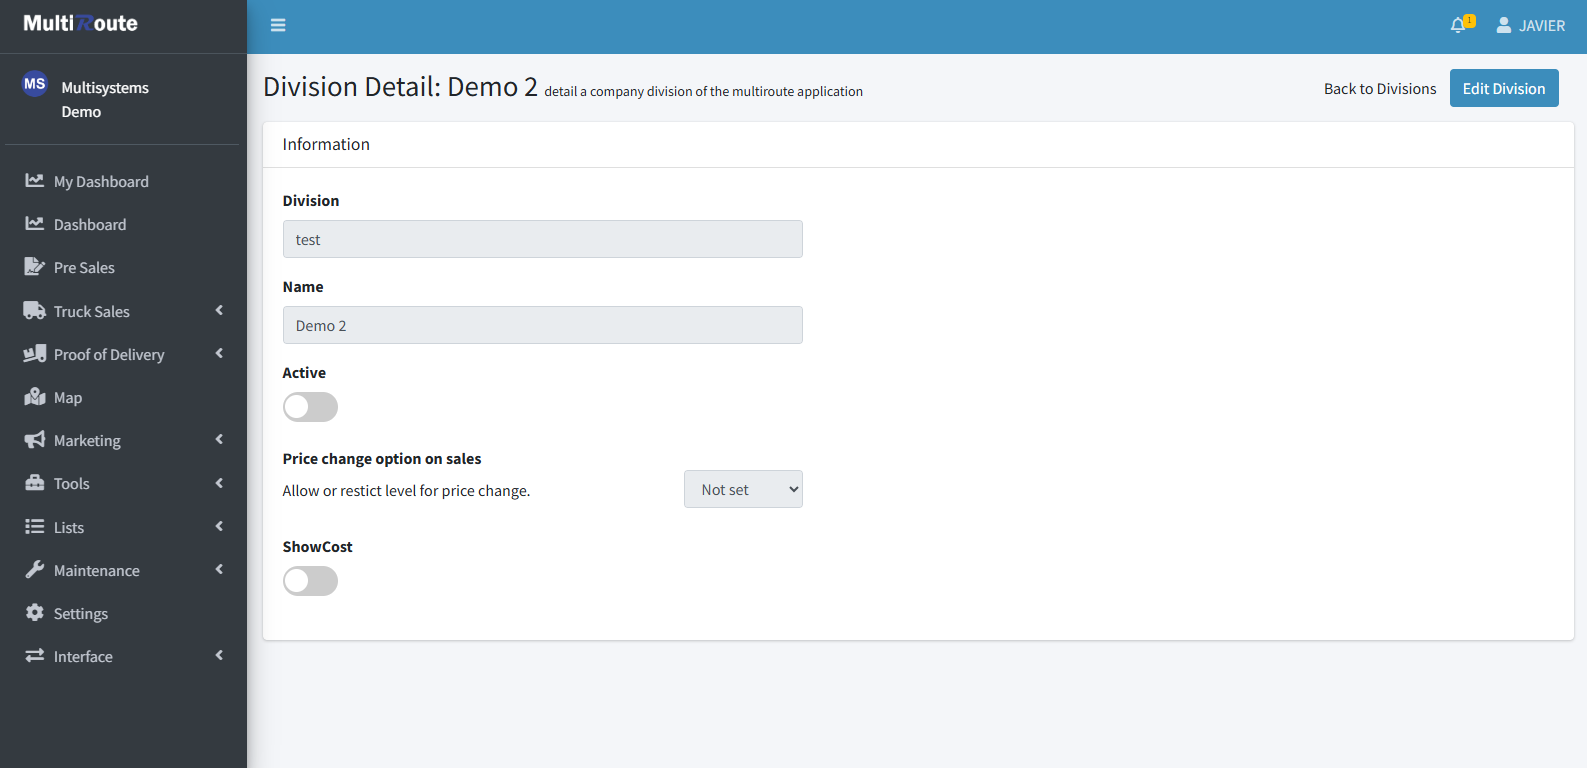
View Company Division
To view a company division, the division can be selected, which will take the user to a page showing all of the corresponding information.
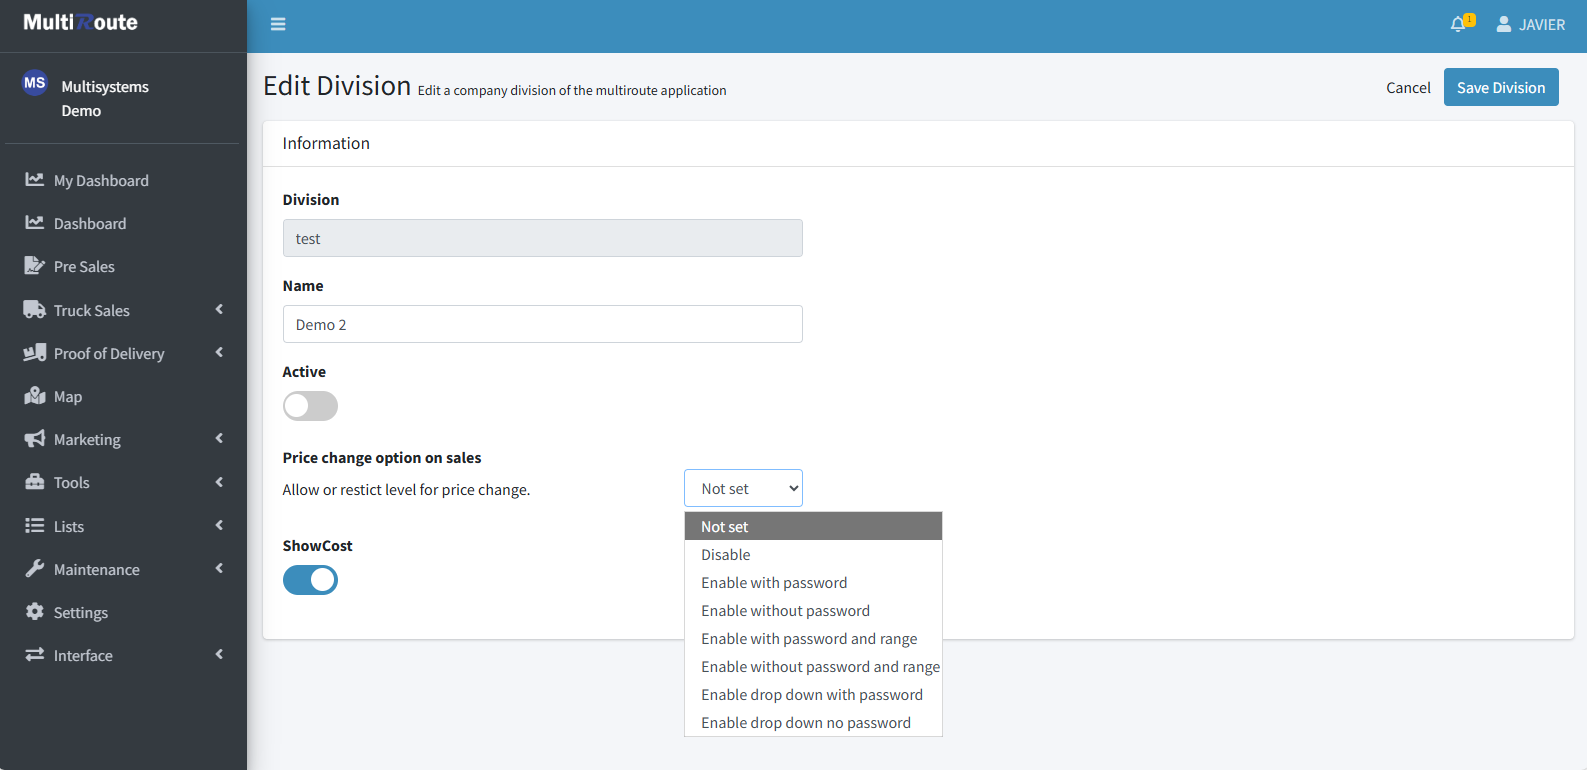
Edit Company Division
By clicking Edit Division while viewing a division, the user will be taken to a page where they can modify the existing division's information. Although the Division ID cannot be modified, the division's Name and Active or Inactive status can be changed. Additionally, the user can also determine whether to show the cost of the division by toggling ShowCost and allow/not allow division price changes and the conditions to do so by selecting the desired option on the Price change option on sales dropdown.
Delivery Rules
In the Delivery Rules page, the user can add, view, or delete the company's days off and view or modify the cut off time.
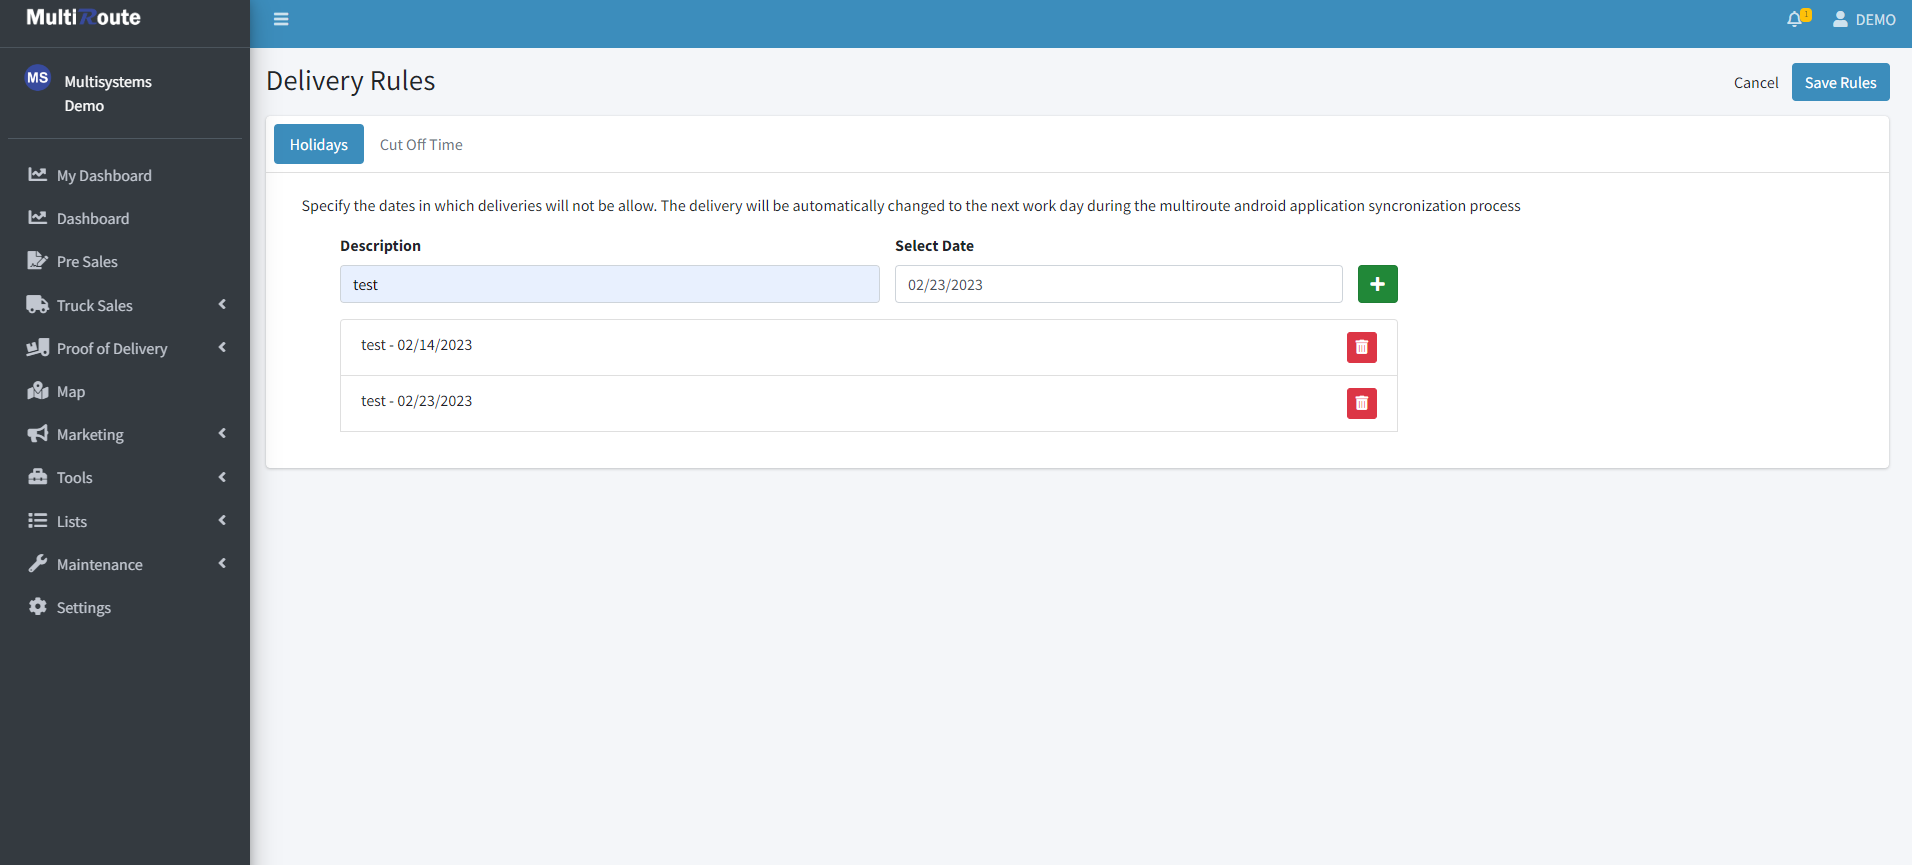
Holidays
Through the Holidays tab, the user can view, add, and delete the company's days off/holidays, days in which no deliveries will be made and will be transferred over to the next day instead. To add a day off, simply enter the Holiday's name or description on the Description text box, the date on Select Date, and finally the green + icon next to it to confirm the addition. To delete a Holiday, simply press the red trash cutton next to the date. Finally, to confirm an addition or deletion of a Holiday, press Save Rules button on the top right of the screen to confirm the changes.
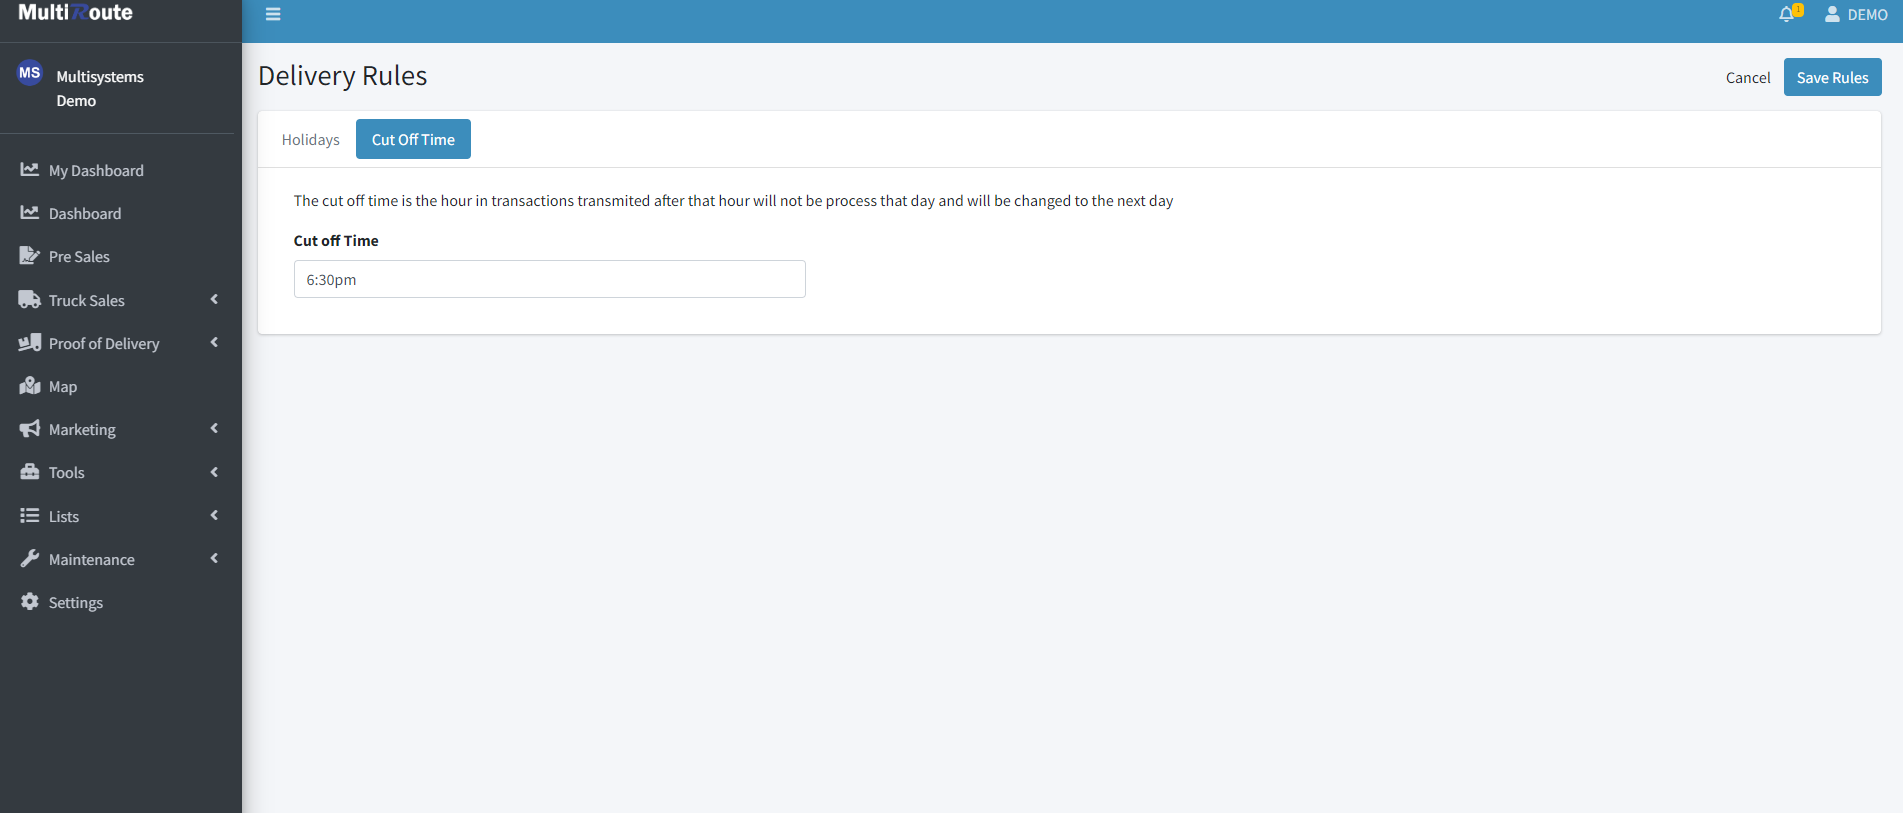
Cut off time
Through the Cut Off Time tab, the user can view or modify the company's cut off time, if a cut off time is being used (optional), which is the time in a day after which transactions will stop processing and will be transfered to process on the next day. By pressing the Cut Off Time text box, the user will be able to determine the cut off time by selecting one of the pre-selected hours from the drop down or type down a more precise hour they wish to set as their cut off time. Finally, to confirm a cut off time modification, press Save Rules button on the top right of the screen to confirm the changes.
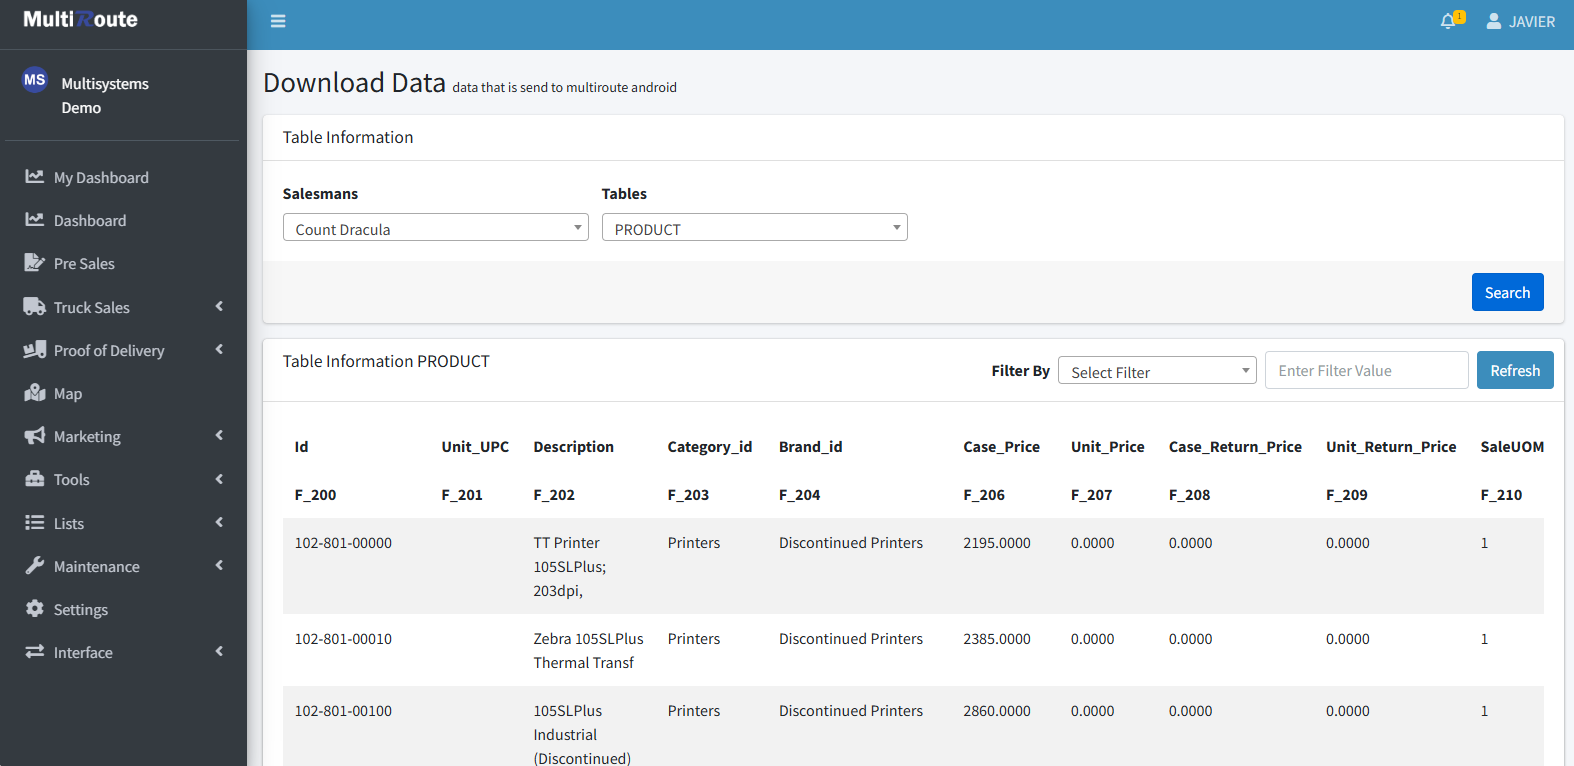
Download Tables
In the Download Tables page, the user can see the data that is downloaded to multiroute android. In here, they'll be able to select a Salesman and a Table, which will generate a table, after clicking on Search, that contains all the information from the selected table corresponding to the selected salesman. For example, by selecting the SALESMAN table, all of the corresponding salesman's information will appear as shown below. The same thing will happen with other Salesman related tables like QUOTA and VEHICLE.

However, if you were to choose another table like PRODUCT, all of the products in the PRODUCT table would appear, regardless of the selected salesman, since all salesmen share the ability to sell all products, unless there's an exception to the rule.